

Photo by Casualphotophile.com
Key Takeaways
Using a reliable local lab ensures high-quality film development and personalized service.
Exposing for shadows can help achieve richer details and better overall exposure in your photos.
Keeping detailed notes for each photo helps track settings and improve future shots.
Properly storing and maintaining your film and gear can prolong their lifespan and enhance performance.
Communicating clearly with your lab technician can result in better-developed photos.
1. Use a Good Local Lab
When it comes to developing your film, choosing a reliable local lab is crucial. The quality of your final photos largely depends on how well the lab processes your film. Local labs often provide more personalized service and you can discuss your preferences directly with the technicians. This helps in achieving the desired look for your photos.
Benefits of Using Local Labs
Local labs offer several benefits that can make a significant difference in your film photography experience:
Personalized Service: You can talk directly to the technicians and explain your preferences.
Faster Turnaround: Local labs usually offer quicker service compared to mail-in labs.
Support Local Business: By choosing a local lab, you support small businesses in your community.
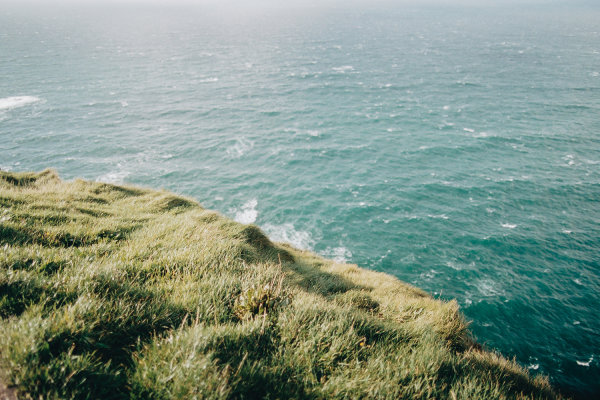
2. Expose for Shadows

Photo by CoolFilm.com
Exposing for shadows is a fundamental technique in film photography that can greatly enhance the quality of your photos. This technique involves setting your exposure based on the darker areas of the scene to ensure they are well-lit and detailed. Film handles overexposure better than underexposure, making this technique particularly useful. Learn more about folding camera focus techniques to improve your film photography skills.
Steps to Properly Expose for Shadows
Getting the exposure right can be tricky, but with practice, it becomes second nature. Here’s a step-by-step guide to help you expose for shadows effectively:
Identify the Shadows: Look for the darkest areas in your scene that you want to retain detail in.
Meter the Shadows: Use your camera’s spot meter or a handheld light meter to measure the light in the shadow areas.
Adjust Your Settings: Based on the meter reading, adjust your camera’s aperture, shutter speed, and ISO to ensure the shadows are properly exposed.
Recompose and Shoot: Once your settings are dialed in, recompose your shot and take the picture.
Effects of Overexposure vs. Underexposure
Understanding the effects of overexposure and underexposure is crucial in mastering film photography. Here’s a quick comparison:
|
Aspect |
Overexposure |
Underexposure |
|---|---|---|
|
Detail in Highlights |
Can be lost, but film handles it better |
Retained, but shadows may suffer |
|
Detail in Shadows |
Retained |
Lost, leading to dark, muddy areas |
|
Overall Image Quality |
Brighter, with a potential for a dreamy look |
Darker, with a moodier, more dramatic feel |
3. Write Notes for Every Photo
Keeping detailed notes for each photo you take can be incredibly beneficial. It allows you to track your settings, understand what works and what doesn’t, and improve your skills over time. For example, you can learn from various tips on selling Lomography photos to enhance your photography journey.

Examples of Useful Information to Record
When taking notes, be sure to include the following information:
Camera Settings: Aperture, shutter speed, ISO, and focal length.
Lighting Conditions: Describe the lighting conditions, such as the time of day and weather.
Film Type: Note the brand and type of film used.
Location: Record the location where the photo was taken.
Composition: Any specific details about the composition, such as framing or subject placement.
4. Look Out for Your Film and Gear
Taking care of your film and gear is essential for maintaining their performance and longevity. Proper storage, regular maintenance, and protection during shoots are key aspects to consider.
Sell Your Photos Online On Pixpa!
50% off https://www.pixpa.com?via=andreja72
Code: PXREF50
Regular Maintenance of Your Camera
Regular maintenance of your camera ensures it performs at its best. Here’s how to keep your camera in top shape:
Clean the Lens: Use a microfiber cloth to clean the lens regularly.
Check the Battery: Ensure your camera’s battery is charged and in good condition.
Inspect for Damage: Regularly inspect your camera for any signs of damage or wear
Conclusion
In conclusion, remember, practice makes perfect, so keep taking photos and try printing them out. Hopefully, with tips provided, you will see improvement in your film photography skills. Don’t be afraid to experiment and try new things. For more useful tips, watch this video below.
Frequently Asked Questions (FAQ)
Here are some common questions about Lomography and film photography to help you get started:
What is Lomography and how does it differ from traditional photography?
Lomography is a style of photography that emphasizes creative, experimental, and often unpredictable results. It differs from traditional photography in several ways:
Spontaneity: Lomography encourages shooting from the hip and capturing candid moments.
Experimental Techniques: Techniques like multiple exposures, cross-processing, and light leaks are common in Lomography.
Unique Cameras: Lomography often uses unconventional cameras like the Lomo LC-A, Diana, and Holga, which can produce quirky and artistic effects.
How do I store my film and negatives?
Proper storage of film and negatives is essential to preserve their quality over time. Here are some tips:
Store in a Cool, Dry Place: Keep film and negatives in a cool, dry place to prevent degradation.
Use Archival Sleeves: Store negatives in archival-quality sleeves to protect them from dust and scratches.
Avoid Direct Light: Keep film and negatives away from direct sunlight to prevent fading.
Proper storage ensures that your precious memories remain intact for years to come.


Leave a Reply