

Key Takeaways
-
Identify light leaks by inspecting your photos for unusual streaks or patches of light.
-
Age and wear are common reasons for light leaks in vintage cameras, particularly in the bellows.
-
Perform a thorough check in a dark room with a flashlight to find the exact location of the leak.
-
Use appropriate materials like light seal foam or black tape to repair leaks and maintain camera hinges.
-
Regular maintenance and proper storage can prevent future light leaks and prolong your camera’s life.
The Tell-Tale Signs of Light Leaks
First things first, how do you know if your vintage camera has a light leak? The evidence is in the images. You’re looking for:
-
Unexpected streaks or patches of light, often with a warm hue.
-
Areas of overexposure that don’t align with the lighting conditions when you took the photo.
-
Patterns that repeat across multiple images, suggesting a consistent issue with the camera.

These are the hallmarks of a light leak, and they can often be traced back to the camera’s age and the condition of its light seals or bellows.
Why Your Vintage Camera’s Age Might Be to Blame
Why do vintage cameras develop light leaks? Over time, the materials used to keep light out of the film chamber can degrade. The foam or felt that once snuggly sealed the back of your camera or the intricate folds of the bellows might now have gaps. It’s like an old window that lets in a draft, except this draft ruins your photographs.
But don’t let that discourage you. Vintage cameras are treasures, and with a little TLC, they can continue to create stunning images. Let’s turn that frustration into a satisfying DIY project.
Sleuthing for Leaks: A Step-by-Step Guide
Here’s how to track down those leaks: For detailed discussions on light leak issues and fixes, you may want to visit I Shoot Film on Flickr.
-
Wait for nightfall or find a dark room. The darker, the better.
-
Open the back of your camera and remove any film.
-
Shine a bright flashlight into the camera while looking at the outside. Pay special attention to the seams and corners.
-
Mark any spots where you see light with a piece of tape—these are your suspects.
Once you’ve marked the potential leaks, you’re ready to move on to fixing them. But before you do, let’s pay special attention to a common trouble spot in many vintage cameras. For more detailed guidance, you can refer to discussions on light leak and fixes in vintage cameras on Flickr.
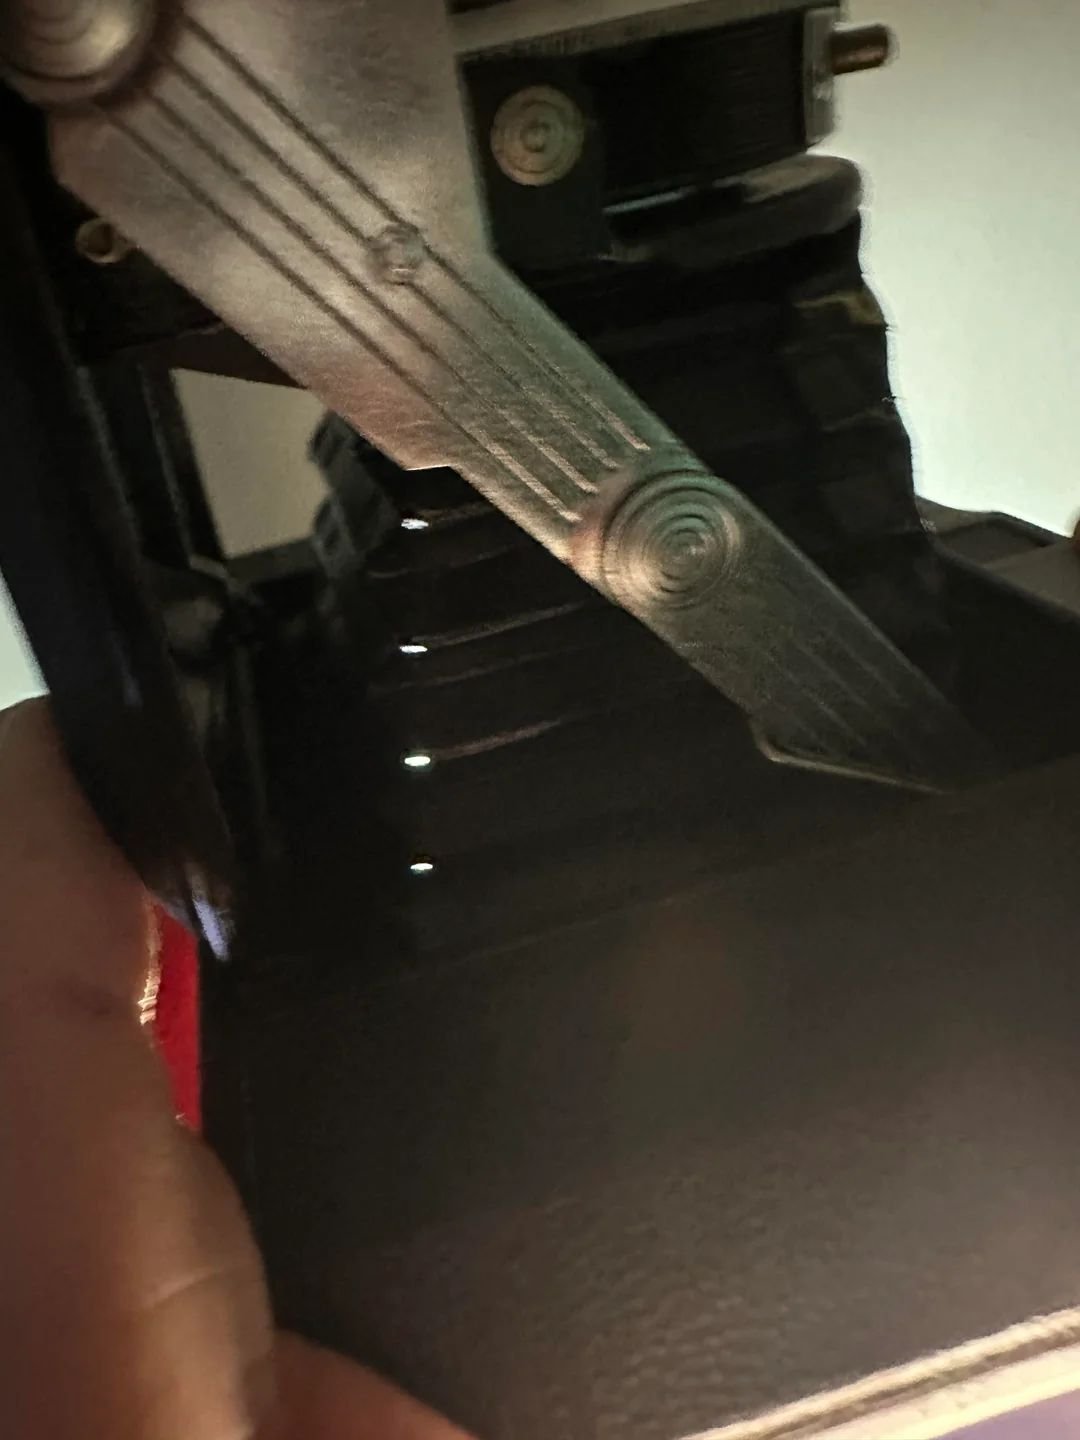
Identifying Weak Spots
The bellows, those accordion-like folds that extend as you focus, are often a source of light leaks. They can be tricky because:
-
They have many folds and corners where light can sneak in.
-
Their material can become brittle and crack over time.
-
They’re essential for the camera’s operation, so any repairs must be done carefully.
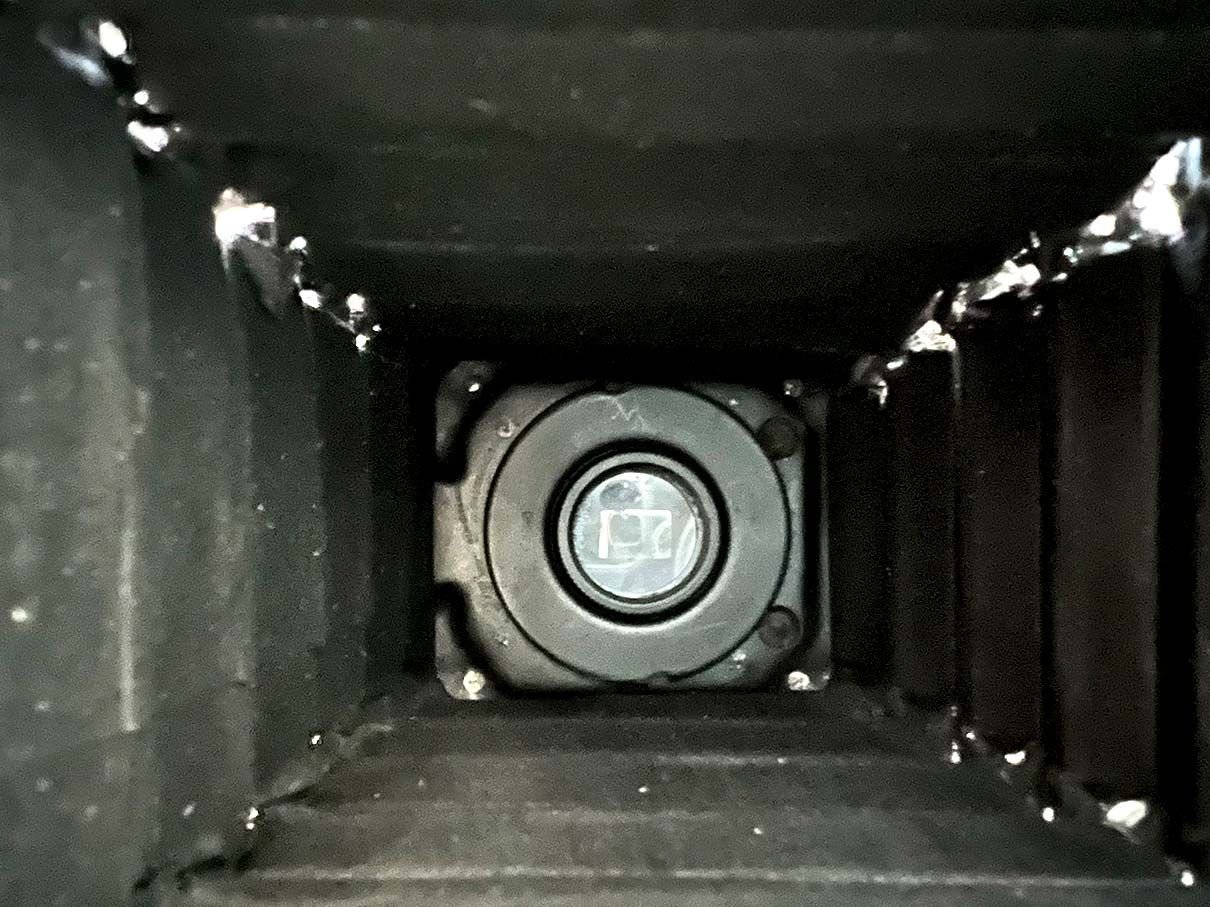
To check the bellows, extend them fully and shine your light inside the camera again. If you see pinpricks of light coming through, you’ve found the leaks. Mark them. These will need a delicate touch to repair, which we’ll cover next.
Choosing the Right Tape for the Job
When it comes to a quick fix, choosing the right tape can make all the difference. Let’s look at your options:
-
Duct tape is strong and has good adhesive qualities, but it can leave a sticky residue that’s hard to clean.

Gaffer’s tape is a photographer’s friend. It’s designed to hold securely but can be removed without leaving a sticky mess.

-
Electrical tape is less bulky and can fit into tighter spaces, but it might not be as durable over time.
In most cases, gaffer’s tape or Light seal foam is the best choice for a temporary fix because it’s made for exactly this kind of job. Just remember, this is a temporary solution, and for a long-term fix, you’ll want to replace the seals properly.
The Art of Camera Care
Clean your camera after every use, wiping away any dust or debris from the body, lens, and any moving parts. Pay close attention to the film chamber, where even a small particle can cause a scratch on your film or become a starting point for a light leak.
Every few months, take a moment to inspect your camera more thoroughly. Check the functionality of the shutter, the clarity of the lens, and the condition of the light seals and bellows. A little preventative maintenance can save you a lot of trouble down the road.
Proper Storage: Avert Aging and Damage
-
Store your camera in a cool, dry place to prevent mold and mildew.
-
Avoid leaving your camera in direct sunlight, which can damage the lens and degrade the seals.
Consider using silica gel packets in your storage area to control humidity.

-
Never store your camera with the shutter cocked or the springs under tension.
Proper storage is as important as any other aspect of camera care. It can prevent a host of issues, including those pesky light leaks.
Another aspect of storage is considering the position of the bellows. If your camera has a bellows, storing it extended can put stress on the material, leading to cracks and leaks. Instead, store it retracted and ensure nothing is pressing against it.
One more tip: if you’re not planning to use your camera for an extended period, remove the batteries if it has any. This prevents corrosion from leaking batteries, which can cause irreparable damage.
DIY Fixes vs. Professional Repairs
So, when should you handle repairs yourself, and when should you hand your camera over to a professional? If you’re comfortable with small, delicate tasks and have a steady hand, many light leak issues can be tackled at home. Replacing light seals or applying small patches to bellows can be done with a few specialized tools and materials. For more detailed guidance, you can refer to discussions on Flickr about light leak fixes.
Common Light-Seal Kit Pitfalls and How to Dodge Them
When you’re fixing light leaks with a seal kit, here are some common mistakes to avoid:
“Using too much adhesive can cause the foam to bulge and prevent the camera back from closing properly. Apply a thin, even layer for the best results.”
Other pitfalls include not cleaning the area thoroughly before applying new seals, which can cause them to fail prematurely, and cutting the foam to the wrong size, which can either leave gaps or cause the camera back to not fit snugly.
Here’s how to avoid these issues:
-
Follow the instructions that come with the kit closely.
-
Take your time and work in a well-lit area.
-
Use tweezers or a toothpick to position the foam accurately.
Seeking Expert Help
If you’re facing a particularly stubborn leak, or if the task seems beyond your skill level, it’s time to call in the pros. A professional repair person can provide:
-
Experience and expertise in handling delicate vintage cameras.
-
Access to the correct materials and tools for a lasting repair.
-
A guarantee of work, giving you peace of mind that the problem is solved.
Remember, there’s no shame in seeking help. It’s better to have your camera properly repaired than to risk further damage by attempting a fix you’re not prepared for. For those interested in vintage photography tips and best picks, ensuring your equipment is in top condition is essential.

Frequently Asked Questions
Will repairing light leaks affect the value of my vintage camera?
Repairing light leaks properly can actually preserve or enhance the value of your vintage camera. If done correctly, maintaining the functionality of your camera ensures that it can still be used for its intended purpose: taking photographs. However, if repairs are done poorly, they can detract from the camera’s value. Always strive for repairs that are in line with the camera’s original design and use appropriate materials.
-
Professional repairs can maintain or increase the camera’s value.
-
Poor DIY fixes may decrease the camera’s value.
-
Using period-appropriate parts and materials is best.
How often should I check my vintage camera for light leaks?
It’s a good practice to check your vintage camera for light leaks every time you load a new roll of film, especially if the camera has been stored for a while or if it’s been recently purchased. If you frequently use the camera, a more thorough check every few months is advisable. Always inspect your camera after it has been exposed to stress, such as travel or extreme weather changes, as these can cause seals to fail.
Can light leaks create any desirable effects in photos?
Some photographers do appreciate the unique, unpredictable effects that light leaks can have on photographs, giving them a certain “lomography” aesthetic. However, this is more of an experimental approach to photography and not for everyone. If you’re aiming for precise exposure and consistent results, light leaks are generally something you want to avoid.
Keep in mind that if you’re experimenting with light leaks for artistic reasons, it’s best to do so with a camera that’s not of significant value or historical importance, as the leaks can cause irreversible damage over time.
Is it better to store vintage cameras with the bellows extended or retracted?
It’s generally better to store vintage cameras with the bellows retracted. This minimizes the stress on the bellows material and reduces the risk of developing cracks or tears, which can lead to light leaks. Additionally, storing the camera with the bellows retracted helps to protect the delicate folds from dust and environmental factors that could cause damage.
When storing your camera, also ensure that it’s not under any physical stress, such as being pressed against other objects, and that it’s kept in a stable environment with low humidity and moderate temperatures.
Many photographers enjoy the unique feel and aesthetic of vintage cameras, but using these classic devices can sometimes lead to technical issues such as light leaks. Light leaks are a common problem in vintage fold cameras, which can cause unexpected flares or areas of overexposure on your photographs. Fortunately, there are several steps you can take to prevent and fix light leaks, ensuring your vintage photography remains unaffected by this issue.

