
Key Points
Always wear lint-free gloves to avoid leaving fingerprints and smudges on film negatives.
Set up a clean, well-ventilated workspace to reduce dust during the cleaning process.
Use a soft, anti-static brush or cloth for initial dust removal from negatives.
For a more thorough cleaning, carefully use isopropyl alcohol with a cotton swab.
Store cleaned negatives in archival sleeves or boxes to prevent future dust buildup.
The Importance of Clean Negatives
Picture this: you’ve captured the perfect photo. The composition is breathtaking, the lighting is spot on, and you’re eager to see the final result. But when you scan the negative, it’s littered with dust and smudges that obscure the image. Cleaning your negatives is essential because it impacts the sharpness and quality of your scanned photos.
Things You Should Have
Before we begin, let’s get everything together. You’re going to need:
Gloves that don’t shed lint
Soft brush or cloth that doesn’t generate static
Isopropyl alcohol (preferably 99%)
Cotton swabs or pads
Storage sleeves or boxes meant for archival storage
Once you’ve gathered these supplies, you’re all set to start cleaning your film negatives. Get a cleaning kit for $10.99 from Amazon

Getting Ready to Clean
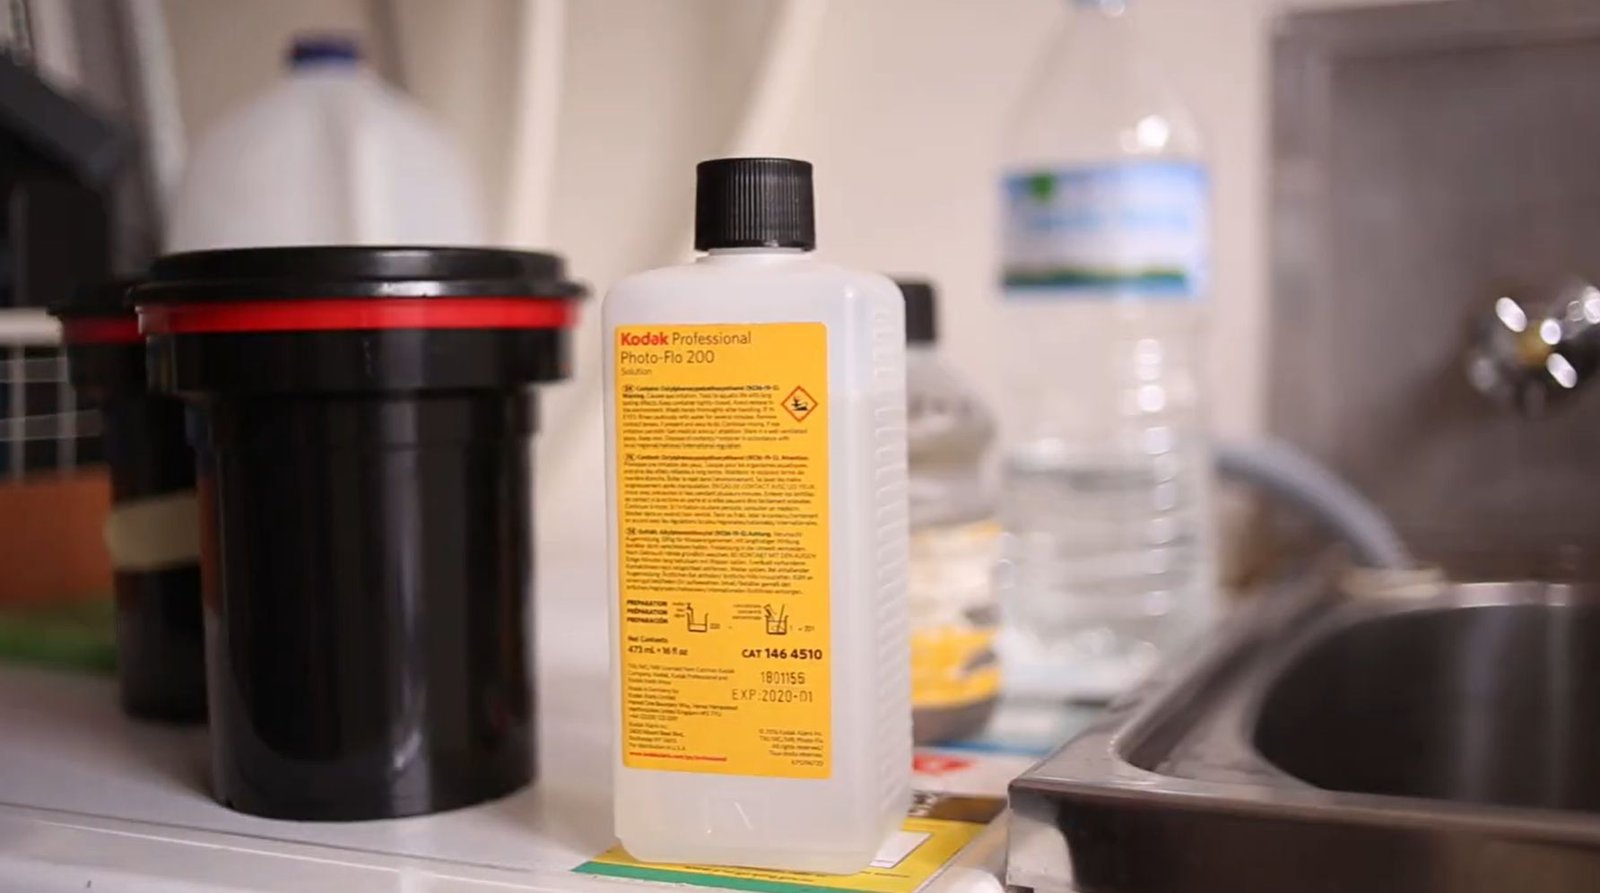
One of the most important tips that many people may not be aware of is the use of photo flow when processing film. Whether it’s color or black and white film, using photo flow can make a big difference. While color processing may not always require it, doing a final rinse with distilled water and a few drops of photo flow can help prevent water marks and static from clinging to the film. This can result in less dust accumulating on the film as it dries, making the scanning process easier. Photo flow is an inexpensive and essential part of home film processing, and can also be used to rewash dirty negatives to improve the final result.
Creating a Workspace Free of Dust
The first thing we need to do to ensure cleanliness is to create a workspace that’s as free of dust as we can make it. Find a room that doesn’t have much airflow to keep dust from swirling around. If you have a fan or air conditioner, turn it off. Then, wipe down your workspace with a damp cloth to catch any dust particles that are already there. Having a clean environment is the best way to keep dust away.
Keeping Your Negatives Safe
Next, we need to address your hands. The oils and sweat that our skin naturally produces can leave invisible marks on negatives. To avoid this, always put on lint-free gloves before you touch your film. This easy step will ensure that your negatives remain clean and your scans are flawless.
How to Clean Your Negatives
Step One: Dust Off the Surface
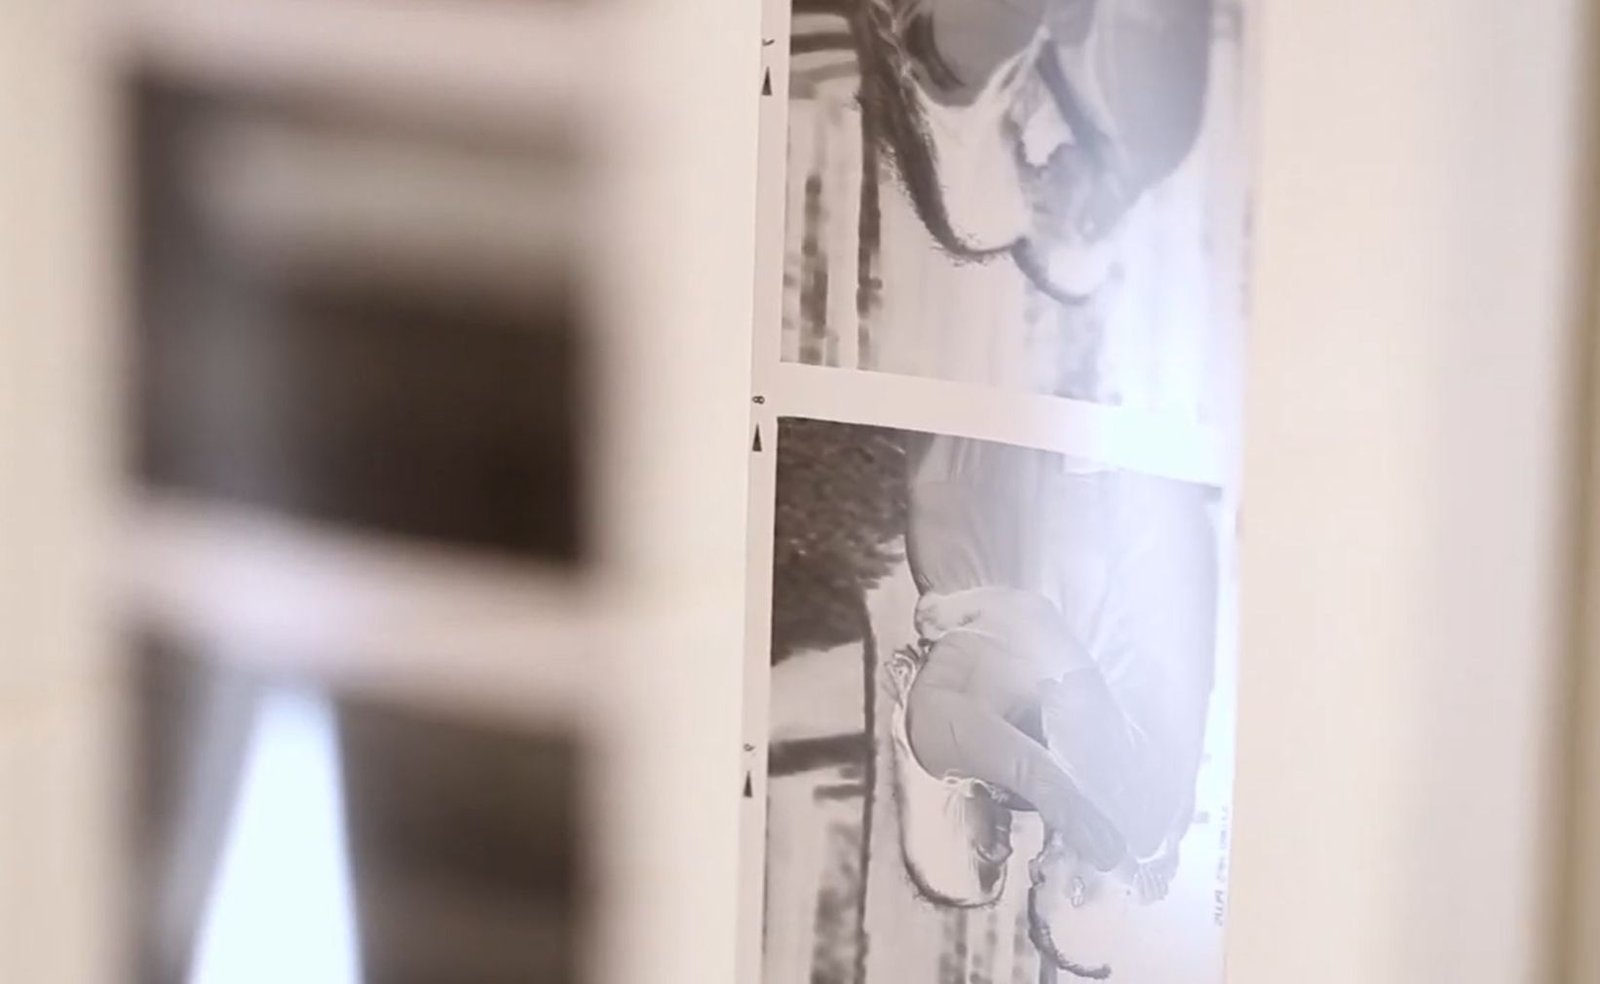
The first thing you should do is use a soft, anti-static brush or cloth to lightly dust off your negatives. This is a gentle process – you’re not trying to scrub the negatives, just remove any loose dust. If you’re using a brush, make sure it’s one that’s made for photography so you don’t accidentally scratch your film. For a more in-depth guide on this process, consider reading Cleaning Film Negatives: A How-to Guide.
Choosing the Proper Cleaning Products
Once you’ve removed the dust from the negatives, there may still be persistent smudges or greasy fingerprints that a brush can’t clean. This is when isopropyl alcohol becomes useful. Soak a cotton swab in the alcohol – but be sure it’s not too wet – and lightly clean the negative. The most important thing to remember here is to be gentle and patient. If you rush this step.
The Final Step: Drying
After you’ve thoroughly cleaned your negatives, they need to dry. Place them on a clean, dry surface or hang them up if you can. Make sure they’re totally dry before you store or scan them. For drying your negatives, try reading this article.
Preserving and Storing
Once your negatives are spotless and dry, it’s time to discuss how to keep them in that condition. Good preservation and storage are as crucial as the cleaning process. If you store your negatives correctly, you’ll reduce the need for regular cleaning and they’ll always be ready for scanning.
Correct Ways to Store Negatives
It’s best to store your negatives in a location that’s cool and dry. Negatives may warp or turn brittle over time if they are exposed to humidity and heat. You might want to think about using archival storage sleeves, which are made to protect film from dust, scratches, and other types of environmental damage. These sleeves can be put in a binder or a storage box that’s made specifically for this purpose.
Always make sure to handle your negatives by the edges, even if you are wearing gloves. This reduces the chance of causing any possible damage.
|
Storage Type |
Advantages |
Disadvantages |
|---|---|---|
|
Individual protection, easy to organize |
Can be more expensive, requires binder or box | |
|
Negative Storage Box |
Stores large quantities, stackable |
Less individual protection, harder to sort through |
|
Acid-Free Envelopes |
Cost-effective, lightweight |
Less durable, not as protective as sleeves |
Post-Scanning: Digital Dusting
Even with our best attempts, a bit of dust might still find its way into our scans. That’s where digital dusting becomes handy. Most photo editing software has tools to get rid of dust specks and minor blemishes. Spend some time doing this final polish, and your images will look their absolute best.
Getting Rid of Dust Specks with Software
For post-scan cleaning, try software like Adobe Photoshop or Lightroom. These programs have healing and cloning tools that can remove those annoying dust spots. With a bit of digital effort, your images will be clean and ready to share with the world.
Conclusion
That concludes my suggestions for reducing dust while processing and scanning at home. I hope you found something helpful or new that you can use to minimize dust in your film scans. I’m curious to know, what methods do you use? Are there any tips or tricks that I didn’t mention? Feel free to share in the comments so others can benefit from your insights.

Common Questions
How often do I need to clean my film negatives?
It’s a good idea to clean your negatives any time you see dust or fingerprints on them, which might be before each time you scan them. However, if they’re stored correctly, you shouldn’t have to clean them very often. Checking them every few months will help you decide if they need to be cleaned.
Keep in mind, the fewer times you touch your negatives, the less often they will need to be cleaned. Therefore, storing them correctly is crucial in reducing how often you need to clean them.
Is it okay to clean my negatives with a regular cloth?
It’s not recommended to use a regular cloth to clean your negatives. This is because a regular cloth can leave lint or even scratch the delicate surface of your negatives. Always use a soft, anti-static cloth designed for photographic materials. These are made to be gentle on your negatives and won’t leave behind any residue.
Can scratched negatives be fixed?
Light scratches can often be reduced with careful cleaning, but deeper scratches are typically permanent. That said, the digital image can often be fixed with photo editing software. Tools like the ‘Healing Brush’ in Photoshop are designed to blend scratches seamlessly into the surrounding area.


Leave a Reply