
Key Takeaways
Choose the right film camera and film type based on your destination’s lighting conditions.
Essential gear includes a reliable camera bag, extra batteries, and a light meter if your camera lacks one.
Pack your camera and film carefully to protect them from damage and airport X-ray machines.
Keep your film safe from extreme temperatures and plan for secure storage during your trip.
Understand airport security measures to prevent film damage and facilitate a hassle-free experience.
Pack Your Bags and Your Film Camera Too
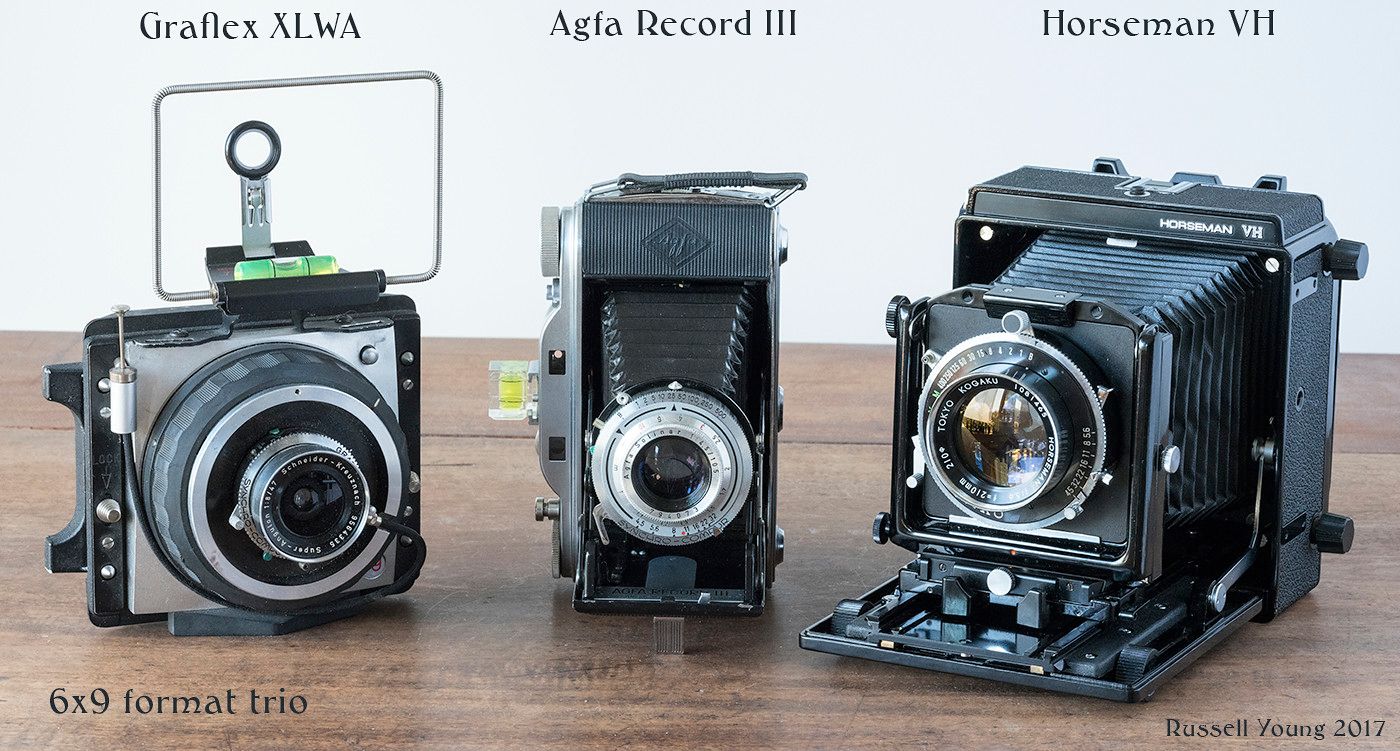
First things first, select a camera that’s travel-friendly. Think light, durable, and functional. A heavy camera might seem like a good idea, but remember, you’ll be carrying it all day. Consider cameras like the Agfa Record III, Horseman VH, Graflex XLWA which are renowned for their reliability and ease of use.
Now, let’s talk film. Your choice of film will dictate the mood and texture of your photos. Bright, sunny destinations call for a lower ISO, such as 100 or 200. If you’re heading somewhere with variable or low light, pack some ISO 400 or even 800 to be safe.
Selecting the Right Film for Your Adventure
When it comes to choosing film, consider the following:
If you’re after vibrant colors and fine grain, slide film (also known as reversal or transparency film) could be your best friend. Just keep in mind that it requires precise exposure.
For those who prefer the classic look, black and white film offers a timeless quality and is often more forgiving in terms of exposure.
Color negative film is versatile and great for general use, with a wide exposure latitude and rich colors.
Always bring more film than you think you’ll need. It’s better to come back with extra rolls than to run out mid-trip, especially since finding film abroad can be a challenge.
Choosing Your Trusty Film Camera Companions
Ensure you have a sturdy camera bag that’s comfortable to carry. It should have enough padding to protect your gear but also quick access so you don’t miss those fleeting shots. By pressing the link you will discover different type of bags that are BUDGET FRIENDLY!
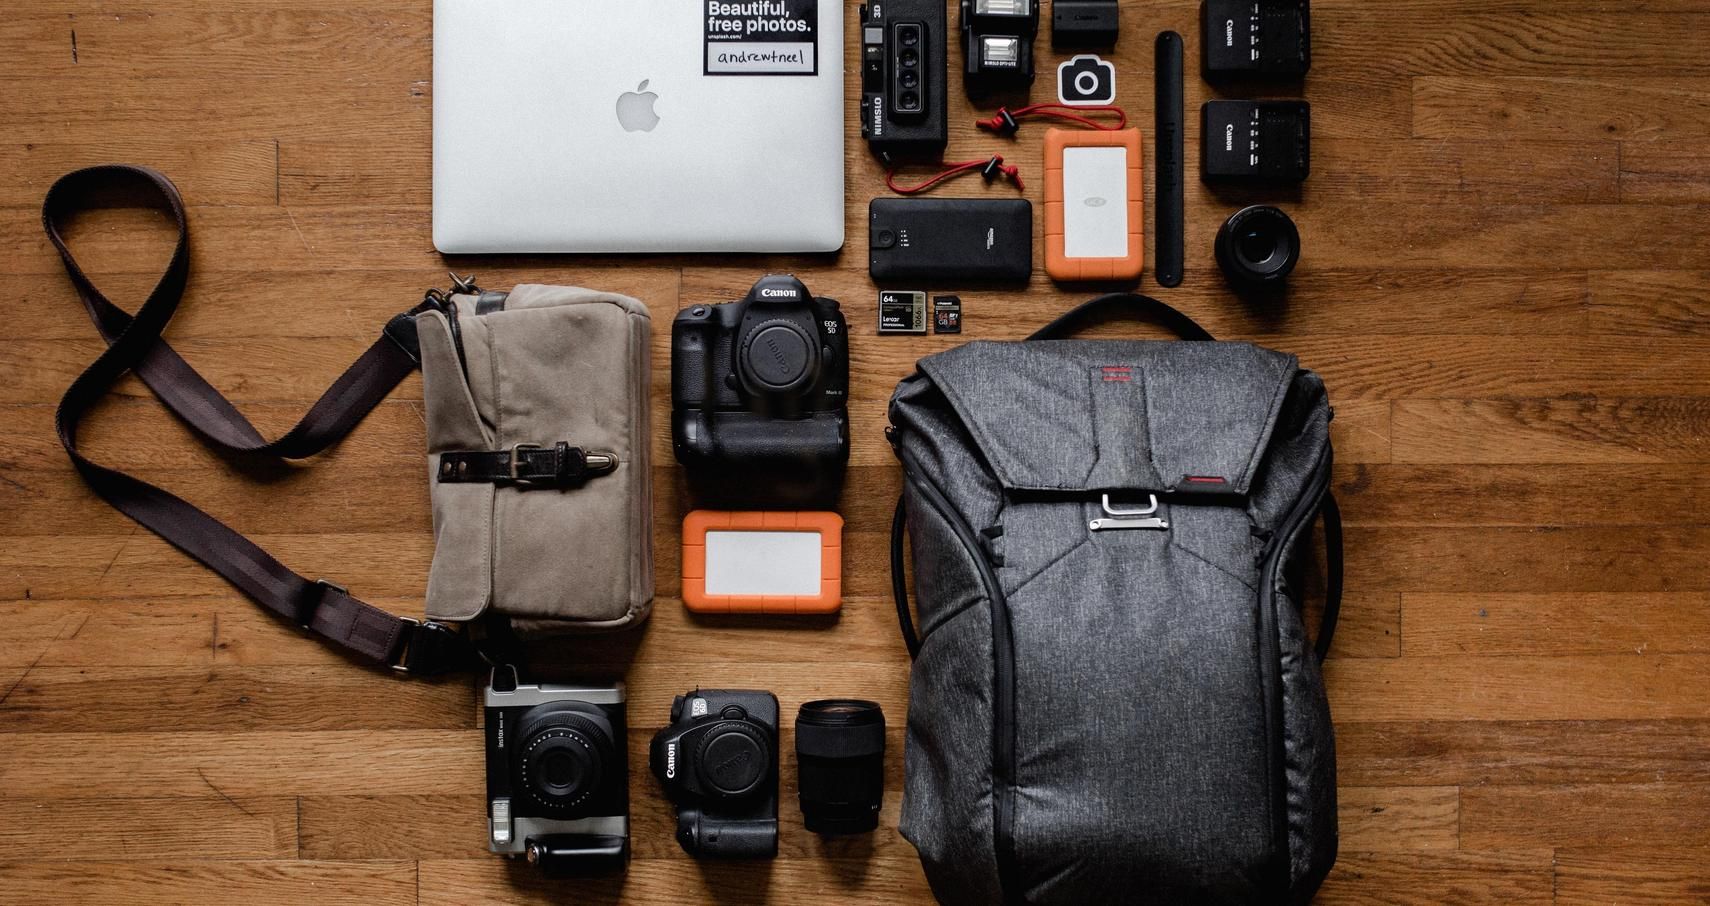
Accessorize for Success: Bags, Tripods, and More
Consider these accessories to enhance your travel photography experience:
A lightweight tripod for those long exposures or self-portraits. If you are going to buy one, consider buying a second-hand one to save money, as tripods can be costly. You can often find used tripods in excellent condition at a more affordable price.

A notebook to jot down details about the shots you’ve taken—film doesn’t have EXIF data!
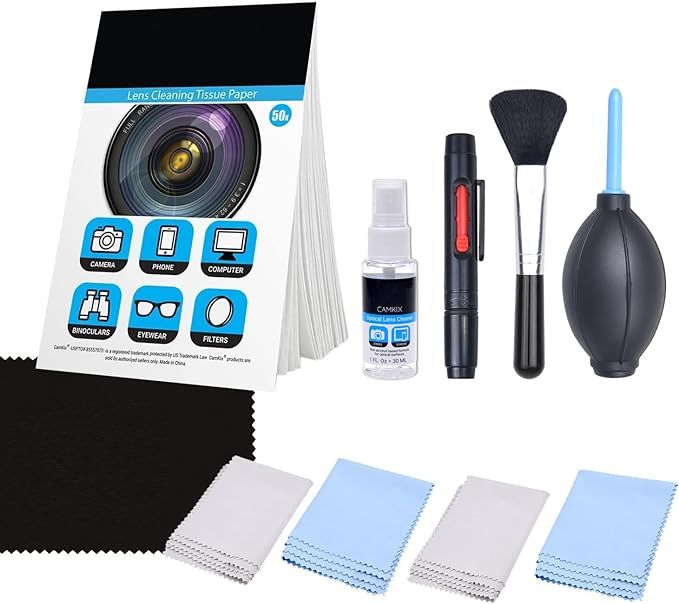
Quality lens cleaning supplies to keep your glass in top condition. The cleaning kit’s can cost less that $10, so don’t hesitate.
Light meter if your camera doesn’t have one built-in. Accurate exposure is key to making the most of each frame of film. Cost might vary from $20 to $600. Or you can just use an app on your phone if you are on a budget. Best app might be “Lux Light Meter Pro“.
Now that we’ve covered the essentials, stay tuned for more in-depth advice on packing your kit, navigating airport security, and taking care of your film on the road.
Best Way to Pack Your Camera
When it comes to packing, every inch of space in your bag is precious. Roll your film in socks or wrap them in clothes to cushion them against shocks. Your camera should be nestled securely in the middle of your backpack, surrounded by softer items to act as a buffer. Always pack your camera and film in your carry-on luggage to avoid the risk of loss or extreme temperatures in the cargo hold. Keep reading for more information about air travel.
For the camera itself, if you don’t have a dedicated camera bag, choose a small, padded insert that can fit snugly into your backpack. This not only protects your camera but also keeps it discreet, which is crucial in areas where showing off expensive gear might attract the wrong kind of attention. Plus, it makes for easy access when inspiration strikes.
Protect Film from Extreme Weather
Film is sensitive to extreme temperatures. High heat can cause it to fog, while cold can make it brittle. If you’re heading to a hot climate, try to keep your film in a cooler bag during the day. In cold environments, keep it close to your body for warmth. Either way, never leave film in a car or in direct sunlight. Certain camera bags are equipped with insulated silver lining to help retain cold air, however, it may be more cost-effective to invest in a small cooler bag, which can be purchased for less than $10, to ensure preparedness for heat.
Remember, film can also be affected by humidity. If you’re traveling to a place with high humidity, consider using airtight containers with silica gel packets to absorb moisture. You can find one for $3.

Keeping Film Safe on the Go
Once you’re at your destination, you’ll be moving around a lot. It’s essential to have a plan for protecting your film. Consider a small, 120 hard-shell plastic snap case specifically for 120/620 rolls, or 35mm. This will shield them from being crushed in your bag. You might also want to use film canisters or even a dedicated film pouch that can be attached to your belt or bag for quick access. Prices goes from $5 to $6. In my opinion, this is the best way to keep my film safe.
And here’s a tip: If you’re using multiple film types, label your canisters or pouches. This way, you won’t mix up your slide film with your black and white, or your ISO 100 with your ISO 800. A small piece of tape and a permanent marker will do the trick.
Getting Through Security with Ease
Airport security is often the biggest concern for photographers traveling with film. X-rays used in airport scanners can fog film, especially higher ISO films. So it’s important to take the necessary precautions to protect your precious cargo.
Planning Ahead: A Guide to Film-Friendly Air Travel
Planning ahead can save you a lot of headaches at the airport. Here are a few steps to ensure a smoother experience, including understanding the evolution of retro folding cameras which can impact your packing decisions.
Research the airport’s policy on film and X-rays. Some airports have specific guidelines, so it’s best to be informed.
Arrive early to allow time for hand inspections.
Have your film in a clear bag and separate from your camera and other electronics to simplify the inspection process.
Be ready to explain why you’re carrying film and politely insist on a hand inspection if necessary.
Do not put any film into your camera while flying
Be sure to take out the batteries if your camera has ones
After you’ve captured all your memories and it’s time to head home, the same rules apply. Keep your exposed film with you and protected from X-rays.
Handy Tips for Airport X-Ray Machines
Firstly, never pack your film in checked luggage. The X-ray machines used for checked baggage are much stronger and will almost certainly damage your film. Instead, carry your film in a clear plastic bag and request a hand inspection at security. Most airports are willing to accommodate this, but be polite and allow extra time for this process. If you choose to use an Instax film camera, be aware that the film is x-ray safe, so security may still scan it. Concerns may be more justified with 120mm and 35mm film.
If you’re carrying a large quantity of film, especially if it’s over ISO 800, you might encounter some resistance. In this case, a lead-lined bag can be a good investment. These bags are designed to protect film from X-rays, but be aware that if the security personnel can’t see through the bag, they may increase the scanner’s intensity or ask you to open the bag for inspection.

Frequently Asked Questions (FAQ)
When traveling with a film camera, questions are bound to arise. Here are answers to some common queries to help you prepare for your journey, including tips on choosing your first retro folding camera for those interested in vintage photography.
Can Film Cameras Go Through Airport Scanners?
Yes, film cameras can go through airport scanners, but the film itself is a different story. Film under ISO 800 can usually withstand a few passes through a carry-on scanner without issue. However, higher ISO film, or any film that goes through checked baggage scanners, is at risk of being fogged. Request a hand inspection for your film whenever possible to avoid damage. For more details on handling vintage cameras, check out our guide on choosing your first retro folding camera.
How Many Rolls of Film Should I Bring for a Weeklong Trip?
The number of rolls you should bring depends on how prolific you plan to be. A good rule of thumb is 1-2 rolls per day, but consider your shooting style. If you tend to be selective and wait for the perfect shot, you may need less. If you shoot freely, err on the side of more. For a weeklong trip, 7-14 rolls should cover most situations.
Also, think about the variety—bring a mix of ISOs and film types to suit different lighting conditions and creative desires. You don’t want to be caught with only ISO 100 film on a cloudy day or when you stumble upon a beautifully dimly-lit scene.

