Key Takeaways
Understanding lens flare is crucial for using it creatively or avoiding it effectively in photography.
Positioning and camera angles are key factors in managing natural lens flare when shooting with the sun.
Accessories like lens hoods and filters can help control unwanted lens flare.
Aperture and shutter speed adjustments are technical ways to manage the appearance of lens flare in your images.
Post-production software offers tools for enhancing or reducing lens flare to achieve the desired effect.
The Magic of Lens Flares Explained
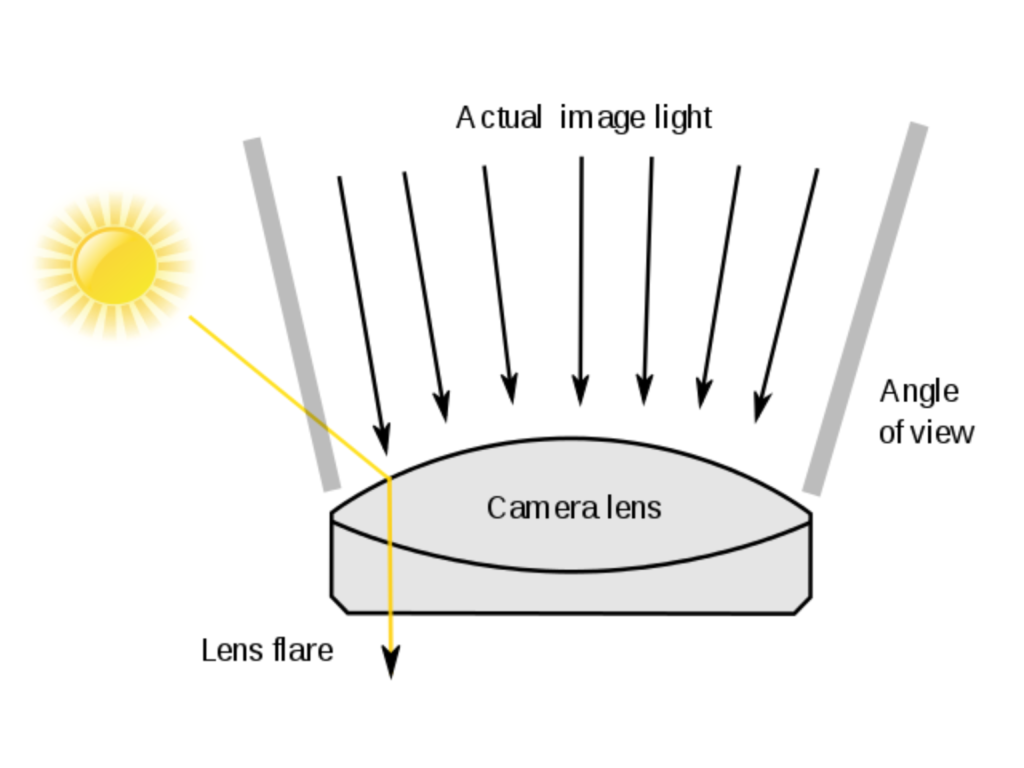
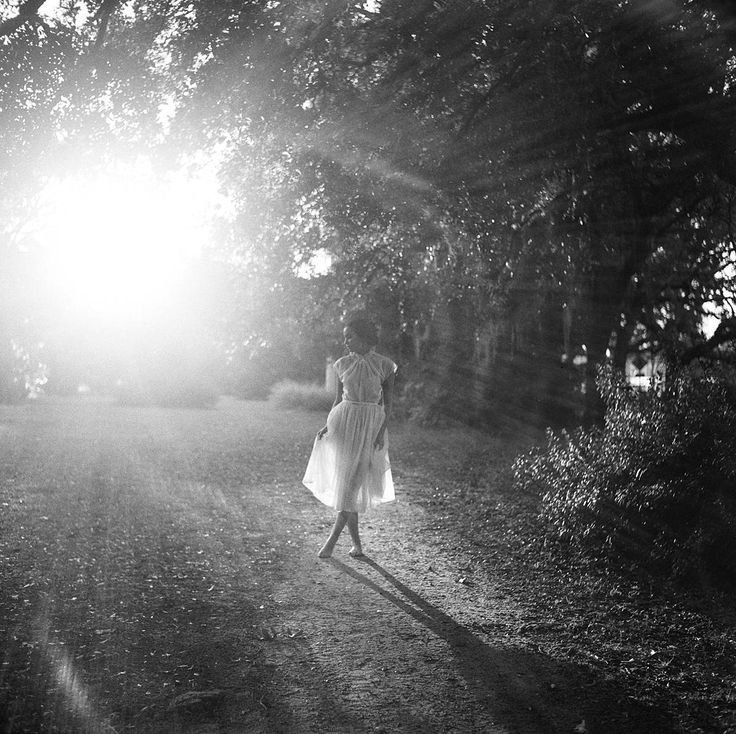
Lens flare happens when light scatters or reflects inside your camera lens, reaching the film or sensor and creating those bright artifacts that can either distract or delight. It’s the result of a battle between light and the optical elements of your camera. But remember, it’s not always the enemy. When used correctly, lens flare can bring a certain realism and rawness to your photos, making them feel alive.
Mastering the Sun: Natural Lens Flares and Your Camera
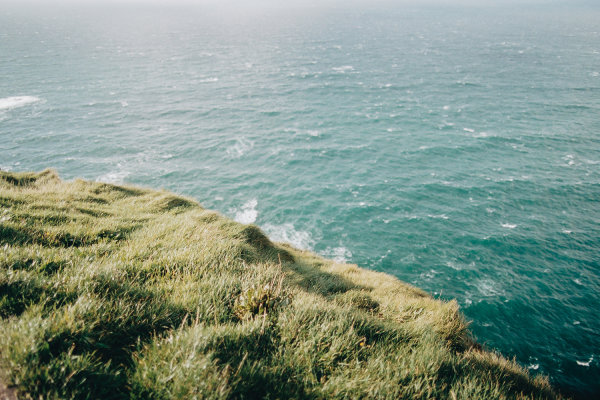
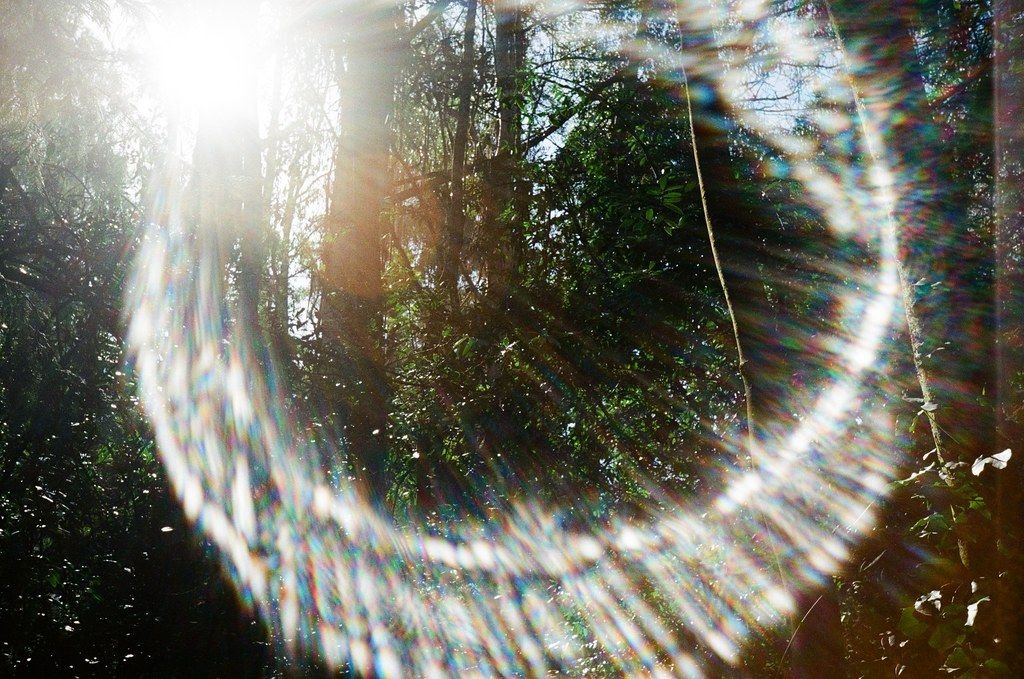
When you’re out there, camera in hand, the sun can be your greatest ally for creating natural lens flares.
Finding the Perfect Angle
It starts with the angle. You’ll want to position yourself so that the sun peeks into the frame just enough to create a flare. This might mean a bit of moving around, crouching, or even climbing to get the sun where you want it. The key is to experiment. Sometimes, the best flare comes from the most unexpected angle.
Golden Hour: Prime Time for Flare Chasers
Then there’s the golden hour—that magical time just after sunrise or before sunset when the light is soft, warm, and seemingly made for photographers. This is when the sun is low in the sky, and it’s prime time for chasing those flares. The quality of light during this time can add a golden touch to your flares, making them part of the visual poetry of your image.
Tools of the Trade: Using Accessories to Control Flares
Lens Hoods: The First Line of Defense

Lens hoods are like the shields of your camera. They block stray light from hitting the lens and creating flare. If you’re looking to avoid flare, always make sure your lens hood is attached. But if you’re after that flare effect, feel free to remove it and let the light hit the lens directly.
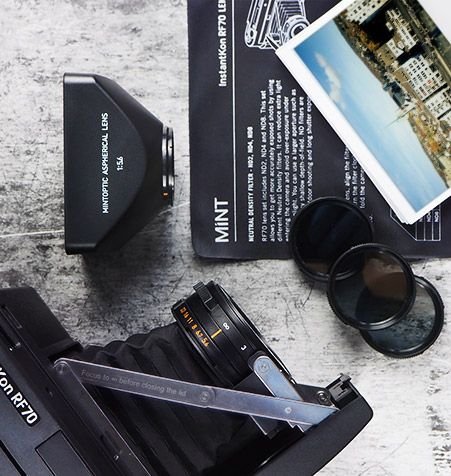
Photo by https://mint-camera.com/en/shop/accessories/instantkon-lens-hood/
Filters: Polarisers and NDs at Work
Then there are filters. A polarizing filter can help reduce glare, which can in turn minimize lens flare. Neutral density (ND) filters, on the other hand, allow you to control the exposure without changing the camera settings, which can be useful if you’re trying to achieve a specific type of flare at a certain brightness.

Photo by https://downgoodsk.live/product_details/41260505.html
Tinkering with Aperture for Starbursts
By adjusting the aperture, you can turn a flare into a starburst, adding a dynamic element to your photos. Smaller apertures (higher f-stop numbers) create a sharper and more pronounced starburst effect. So, if you’re after that crisp, radiant look, tighten up the aperture and watch the magic happen.
Keep in mind that a smaller aperture lets in less light, so you’ll need to balance your exposure with the ISO or shutter speed. It’s a delicate dance, but when you get it right, the results can be stunning.
Shutter Speed and Its Role in Flare Management
Shutter speed plays a crucial role in capturing the essence of a lens flare. A faster shutter speed can freeze the movement of light, making the flare appear more static and controlled. On the flip side, a slower shutter speed allows the light to ‘move’ across the sensor, giving the flare a more dynamic and streaked appearance.
Remember, though, that altering the shutter speed affects the exposure. To maintain the exposure you want, you may need to tweak the ISO or aperture whenever you adjust the shutter speed. It’s all about finding the right balance to capture the flare in harmony with the rest of your image.
Prevention and Cure: Avoiding Unwanted Lens Flares
Strategic Positioning to Minimize Flares
To minimize unwanted flares, be mindful of your light source and the angle at which it enters the lens. Sometimes, simply shifting your position or changing the angle of your camera can prevent light from scattering inside the lens and creating a flare. Also, be aware of reflective surfaces in your scene that might contribute to unwanted flares.
If you’re indoors, you can control lighting to a greater extent. Use flags or gobos to block light from hitting the lens directly. Outdoors, you might need to get creative with your environment, using trees or buildings to block or filter the light.
Pro Tips for Keeping Your Shots Clean
If you’re determined to keep your shots flare-free, here are a few pro tips:
Always use a lens hood—it’s a simple but effective way to shield your lens from stray light.
Keep your lens clean. Dust and smudges can exacerbate lens flare, so a clean lens is less prone to unwanted artifacts.

DIY Tricks for Custom Flare Effects
Use a thin, translucent fabric to diffuse the light and create a soft, glowing flare.
Try holding a small prism in front of your lens to refract the light and produce a spectrum of colors within the flare.
For a more controlled flare, cut out a small shape (like a star or heart) in a piece of card and hold it close to the lens. The light will pass through the shape and imprint it onto your image as a flare.
Embracing lens flare in your photography can transform an ordinary shot into something extraordinary. It’s all about understanding how light interacts with your camera and using that knowledge to either capture the perfect flare or prevent it from stealing the spotlight. With these tips and techniques, you’re well-equipped to manage lens flares like a pro, adding a new dimension to your visual storytelling.
Frequently Asked Questions
What Causes Lens Flares in Film Cameras?
Lens flares are caused by light hitting the camera lens and scattering within its elements. In film cameras, just like digital ones, this scattering of light reaches the film and creates the flare effect. It can be due to direct sunlight, artificial lights, or any bright light source that’s not properly shielded from the lens.
Can Lens Flares Damage a Camera’s Sensor?
Generally, lens flares themselves don’t damage a camera’s sensor. However, pointing your camera directly at the sun or another intense light source can potentially cause harm over time. It’s always a good practice to be cautious and protect your gear.
Don’t point your camera directly at the sun for extended periods.
Use a lens hood to shield your sensor from intense light.
Consider using live view instead of the viewfinder when composing shots with the sun in or near the frame.
What Are Some Common Mistakes When Managing Lens Flares?
Here are a few missteps to avoid when working with lens flares:
Understanding the nuances of vintage fold camera light leak solutions can greatly enhance your film photography skills. Whether you’re dealing with unwanted lens flares or striving for that perfect bokeh effect, mastering light control is essential. By employing various techniques such as adjusting the angle of incidence or using lens hoods, you can prevent light from hitting the lens directly and preserve the quality of your photographs.


Leave a Reply