Key Takeaways
Neutral Density (ND) filters are essential for controlling light, allowing longer exposures, and achieving motion blur in bright conditions.
Choosing between fixed and variable ND filters depends on your specific needs and the level of convenience you prefer.
The quality of ND filters is paramount; German Schott glass with nano-coatings is a top choice to prevent vignetting and maintain image clarity.
Calculating the correct exposure with an ND filter involves a simple conversion based on the filter’s stop value.
ND filters can also be used creatively in film photography to enhance water and sky movement or to produce a soft-focus background in portraiture.
All photos were taken by Hashem McAdam
Understanding ND Filters and Their Use
What is an ND Filter?
An ND filter is a transparent tool that fits over your camera lens to reduce the amount of light entering. It’s measured in stops, with each stop halving the light that passes through. This simple yet powerful piece of equipment is the key to maintaining the balance between aperture, shutter speed, and ISO in bright conditions, ensuring your film captures the scene exactly as you envision it.
When to Use ND Filters in Film Photography
Let’s break it down. You’ll want to reach for an ND filter when:
The scene is too bright for the film speed you’re using.
You’re aiming for a shallow depth of field in bright light without overexposing.
You’re looking to blur movement, such as water or clouds, during the daytime.
You want to avoid the harsh shadows and high contrast that come with bright sunlight.
And remember, using an ND filter isn’t just about necessity; it’s about artistic choice. It’s a gateway to exploring the potential of film beyond standard snapshots, a tool to push the envelope and create images that resonate with emotion and movement. For more on using light to your advantage, consider reading about the Sunny 16 rule in film photography.

Fixed vs. Variable ND Filters: Pros and Cons
Fixed ND filters reduce light by a specific amount, like 2 or 3 stops. They’re like a set of weights, each calibrated for a certain strength. They’re reliable, consistent, and give you clarity in your images. Variable ND filters, on the other hand, are like adjustable dumbbells. They can be turned to vary the light reduction from, say, 2 to 8 stops. They offer flexibility but can sometimes compromise image quality at extreme settings. For photographers interested in buying, here’s a link to ND filter on Amazon.
Fixed ND Filters: Consistent light reduction, sharper images, but less flexibility.
Variable ND Filters: Adjustable light reduction, more versatile, but potential for lower image quality at high densities.
Most importantly, consider what you’ll be shooting. If you’re often changing scenes and need quick adjustments, a variable ND might be your go-to. But if you’re all about precision and maximum image quality, fixed NDs will be your best friends.
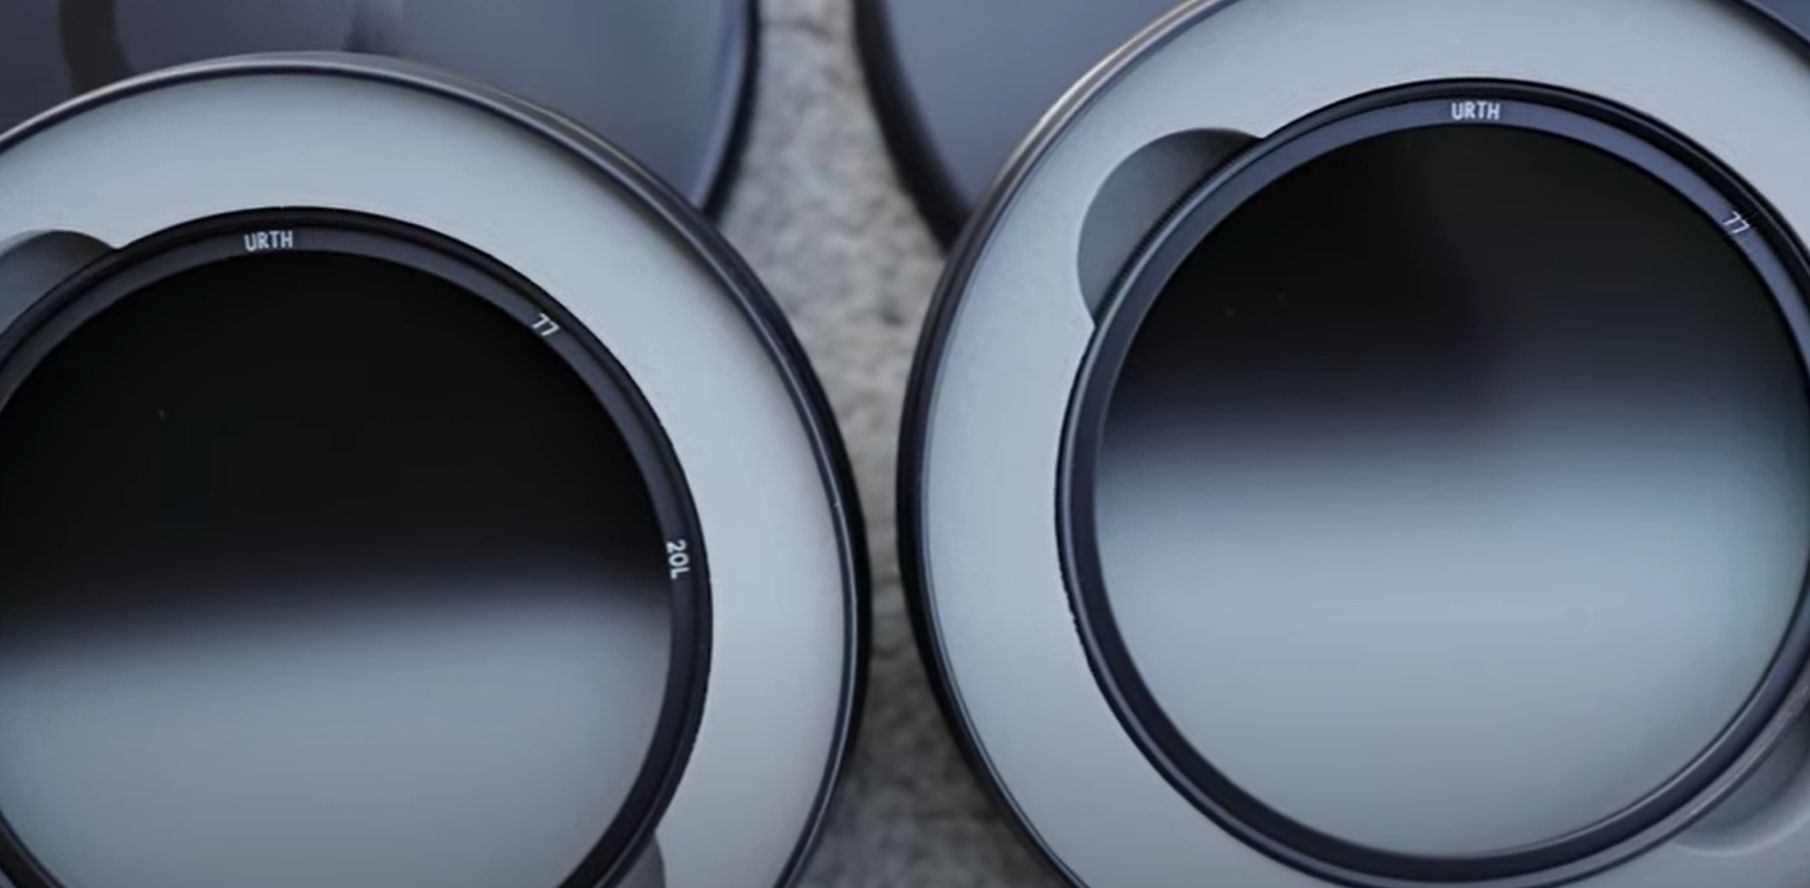
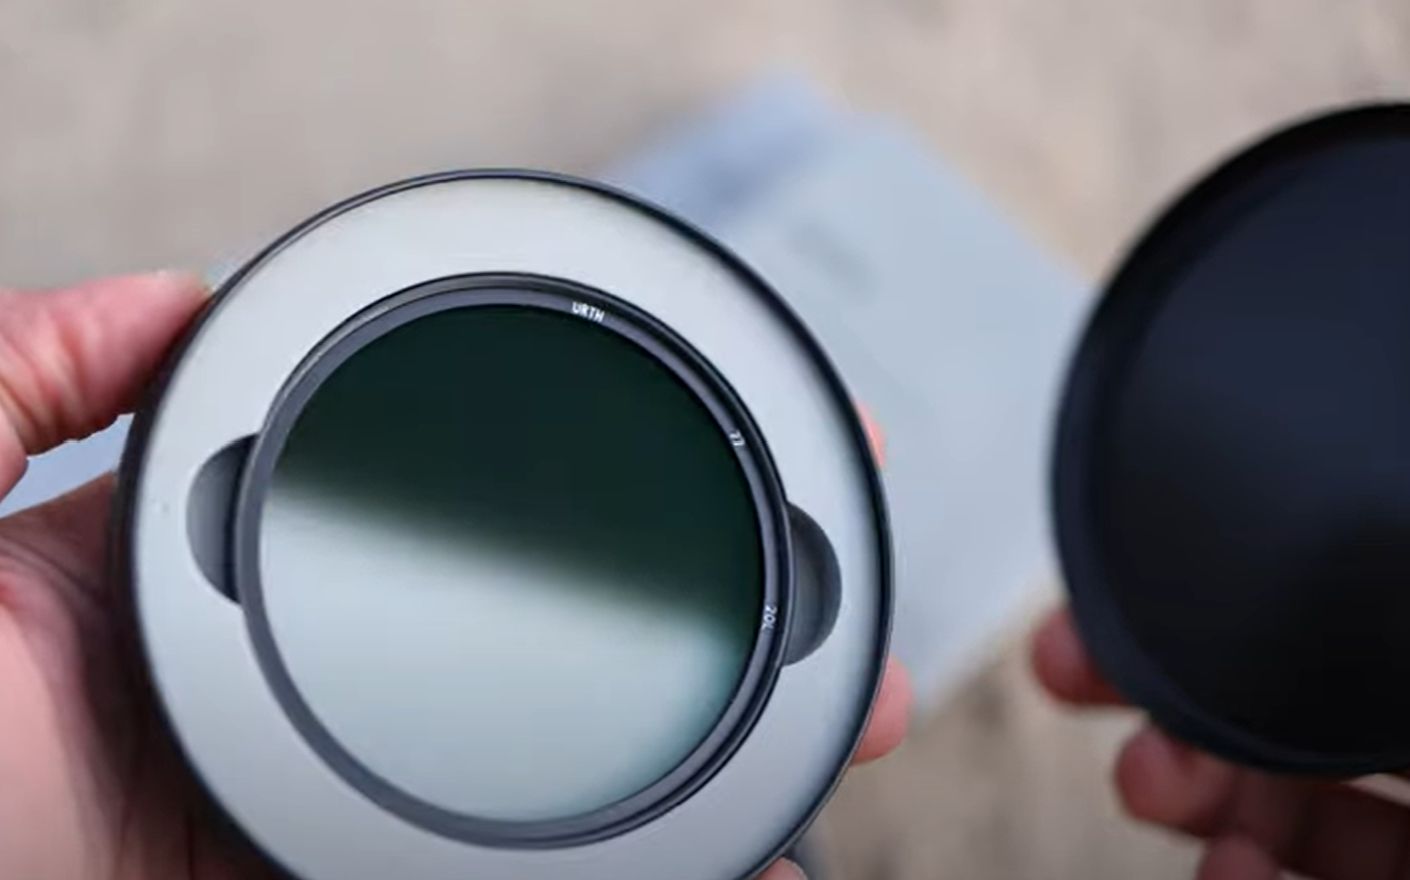
The Importance of Filter Size and Quality
Size matters. You’ll need to match the filter size to your lens diameter—this is non-negotiable. Quality is just as crucial. Opt for filters made from high-quality materials, like German Schott glass, which boasts a 20-layer nano-coating to fend off vignetting and maintain sharpness. A poor-quality filter can degrade your image, and nobody wants that.
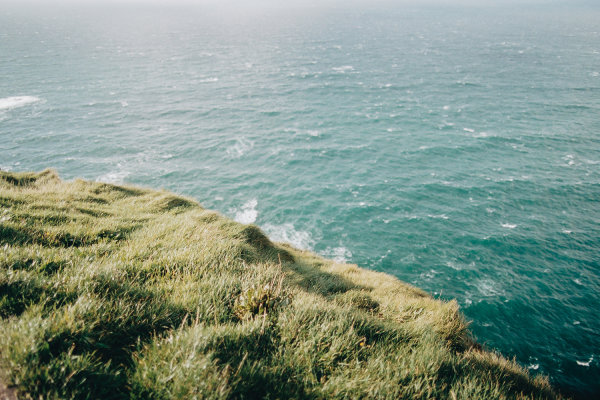
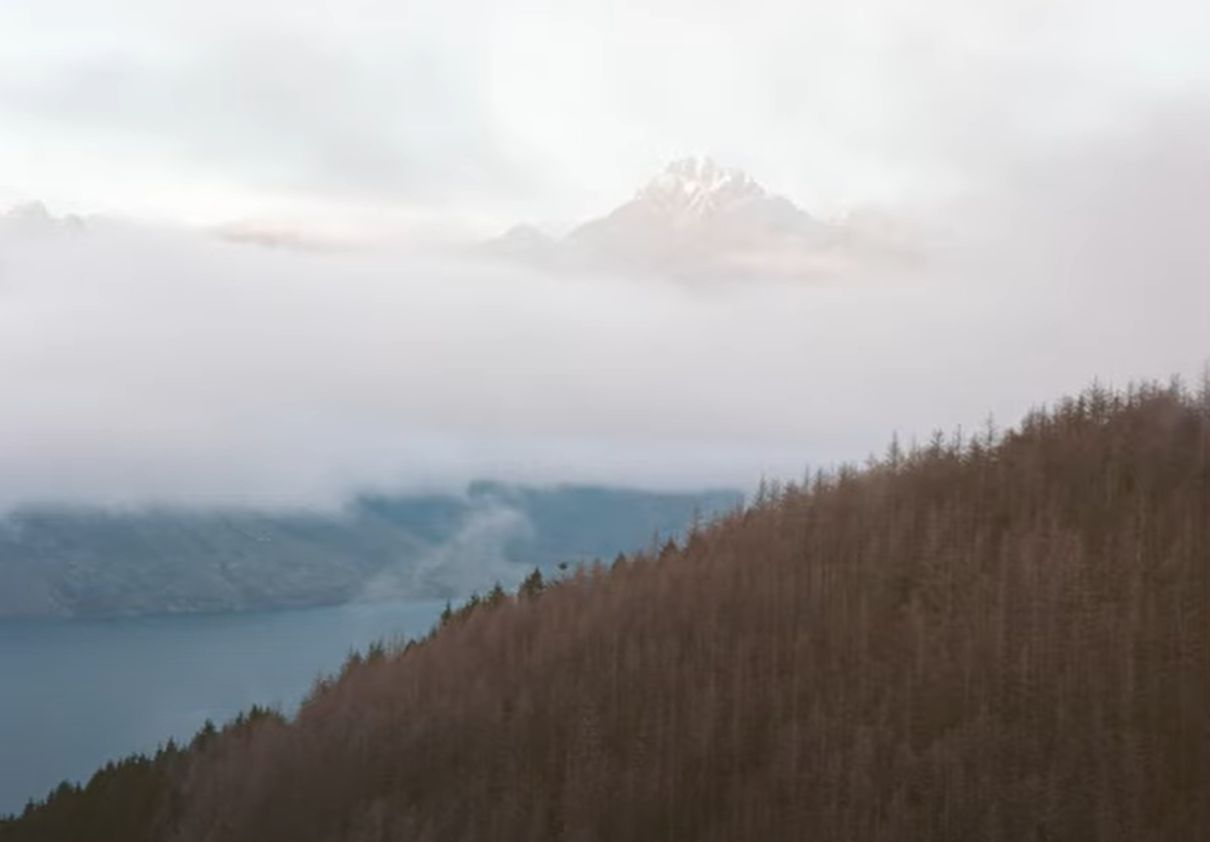
With
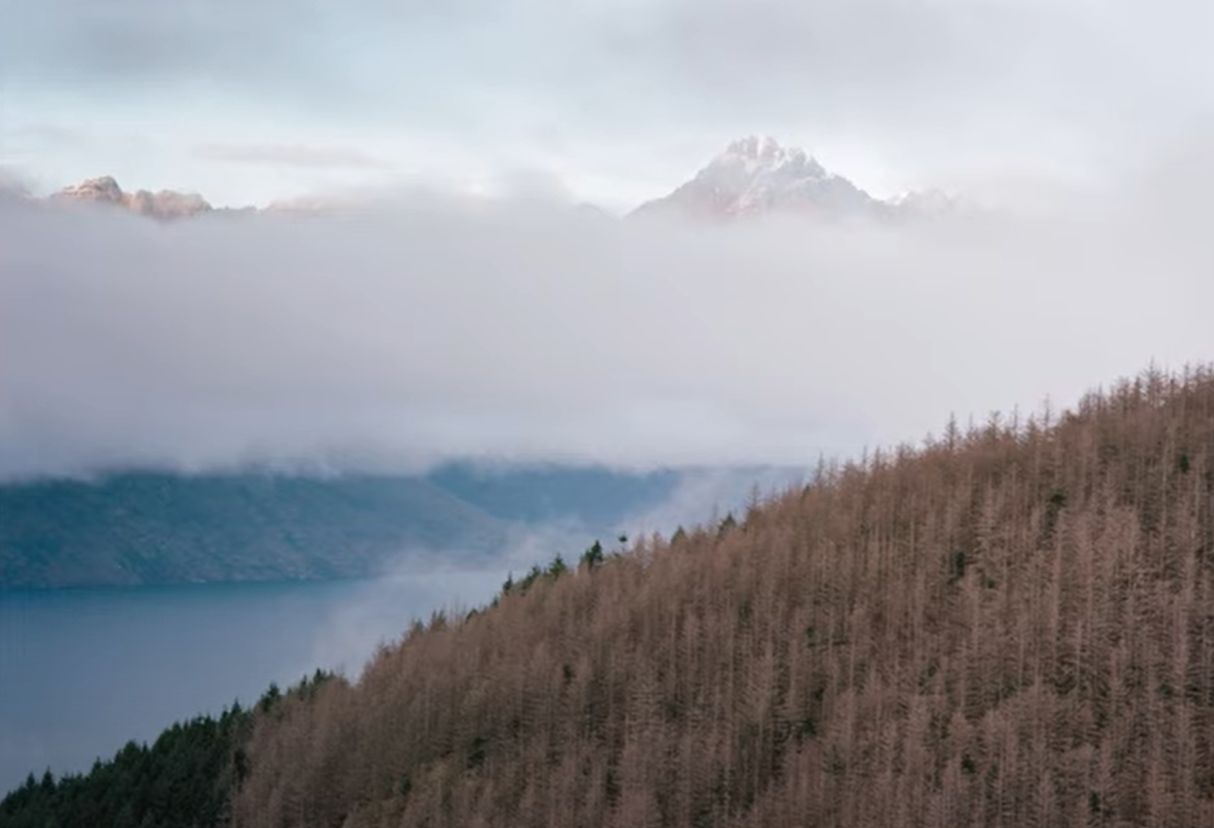
Without
Mastering Exposure with ND Filters
Step-by-Step Guide to Calculating Exposure with ND Filters
Now: calculating exposure. It’s simpler than it sounds. Let’s say you’re shooting with a 3-stop ND filter. Without the filter, your perfect exposure is at 1/250th of a second.
1 stop: 1/125th of a second
2 stops: 1/60th of a second
3 stops: 1/30th of a second
Therefore, with a 3-stop ND filter, you’d shoot at 1/30th of a second to achieve the same exposure as 1/250th without the filter.
Here’s an example of how ND filters can transform a scene:
“When I first used an ND filter on a sunny beach, I was able to slow down my shutter speed enough to capture the movement of the waves, creating a serene, almost painting-like photograph that would have been impossible otherwise.”
Troubleshooting Common ND Filter Mistakes
Even seasoned photographers can slip up with ND filters. The most common mistake? Forgetting to adjust the ISO. If you’ve dialed in your shutter speed and aperture but left your ISO high, you’ll overexpose the shot. Always double-check your settings. And watch out for vignetting—when the corners of your image are darker—especially with wide-angle lenses. High-quality, slim-profile filters can help avoid this.
Creative Techniques with ND Filters
Capturing Silky Water and Cloud Movement
To get that creamy, flowing water effect, you’ll want a shutter speed of at least half a second, often more. ND filters make this possible even in bright daylight. For clouds, a shutter speed of 30 seconds to several minutes can turn a sky into a dramatic, sweeping canvas.
Let’s say you’re at the base of a waterfall. Without an ND filter, the best you can do in bright light might be 1/60th of a second. But slap on a 6-stop ND filter, and suddenly you’re shooting at a full second or more, giving you that sought-after silky effect.
The Ideal ND Filter for Bright Outdoor Scenes
For those blindingly bright days, a higher stop ND filter, like a 6 or 10-stop, can be a lifesaver. It allows you to capture landscapes with a balanced exposure and retain all the details in the sky and the land.
An example of this in action: For those interested in the technical aspects of photography, learning about lens filters and filter adapters can significantly enhance your images.
Recognizing Signs of Wear and When to Replace
ND filters, like any tool in your photography kit, have a lifespan. It’s essential to inspect them regularly for scratches or blemishes that can affect your image quality. If you start to notice consistent artifacts or reduced sharpness in your photos, it may be time to replace your filter. Also, be on the lookout for any signs of delamination – when the filter’s coatings begin to separate from the glass. This is a clear indicator that the filter’s effectiveness has been compromised. For more on maintaining your photography equipment, read our guide on vintage lens maintenance and secure storage techniques.
Frequently Asked Questions
How do ND filters affect film camera exposure?
ND filters reduce the amount of light entering the lens, allowing you to use slower shutter speeds or wider apertures without overexposing your film. They don’t change the film’s sensitivity to light; instead, they give you more control over the exposure triangle, which is the balance of ISO, shutter speed, and aperture. This control is crucial for achieving certain creative effects, such as motion blur or a shallow depth of field, in bright lighting conditions.
“For instance, on a bright sunny day, you might want to capture a portrait with a soft, blurred background. Without an ND filter, you’d have to narrow the aperture to avoid overexposure, which would sharpen the background and distract from your subject. An ND filter allows you to keep the aperture wide open, blurring the background and making your subject stand out.”
Can I stack multiple ND filters for a stronger effect?
Yes, you can stack ND filters to achieve a higher reduction in light. However, be aware that stacking filters can introduce vignetting and potentially reduce image quality. It’s often better to use a single ND filter with the desired density to minimize any negative impact on your photos.
Do ND filters impact the color balance of film photos?
High-quality ND filters are designed to be color neutral, which means they shouldn’t affect the color balance of your photos. However, lower-quality ND filters can sometimes cast a color tint on your images. If you notice a color shift when using an ND filter, you can typically correct it during the printing or scanning process, but it’s best to invest in a high-quality filter to avoid the issue altogether.
“Imagine you’re shooting a landscape with a cheap ND filter and you notice a slight blue tint in the sky. While this can be corrected after the fact, it’s an unnecessary hassle that could be avoided with a better-quality filter.”
What’s the difference between an ND filter and a polarizer?
An ND filter uniformly reduces the light entering the lens, affecting exposure and motion blur without changing the image’s colors or contrast. A polarizing filter, on the other hand, reduces glare and reflections, enhances colors, and can increase contrast. While both can affect exposure, they serve different purposes and can sometimes be used together for specific effects.


Leave a Reply