Key Takeaways
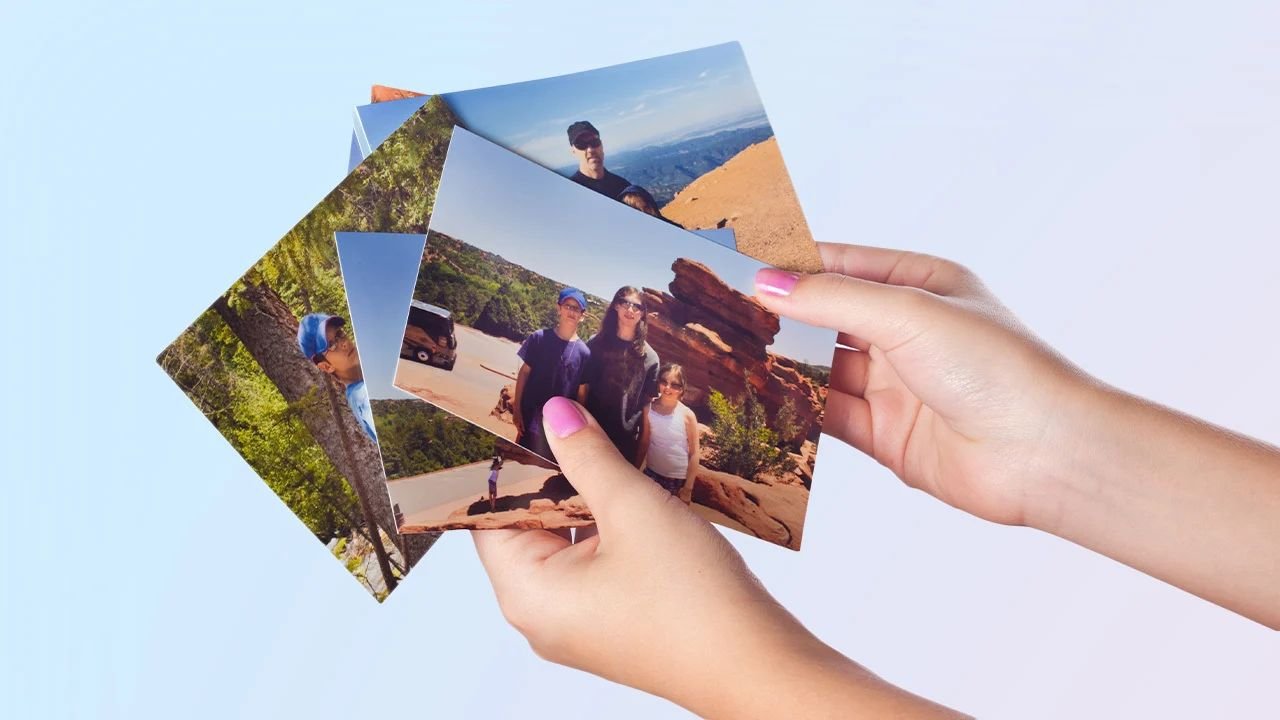
Printing film photos at home can be free or cost-effective with the right app and approach.
Free Prints apps offer a set number of free prints monthly, charging only for delivery.
You can create a DIY darkroom and use cost-saving strategies to print photos without breaking the bank.
Choosing the correct type of photo paper and buying in bulk can lead to significant savings.
Understanding the limitations and potential hidden costs of free services is crucial to truly save money.
For free way to print film photos scroll down to ”Free Printing Apps and Services”
Why DIY Film Photo Printing Rocks
Professional printing services add up quickly, especially if you’re an avid photographer. By printing at home, you’re cutting out the middleman and the markup.
Tools You’ll Need to Get Started
You’ll need a few essentials, including a reliable light meter for your film photography endeavors.
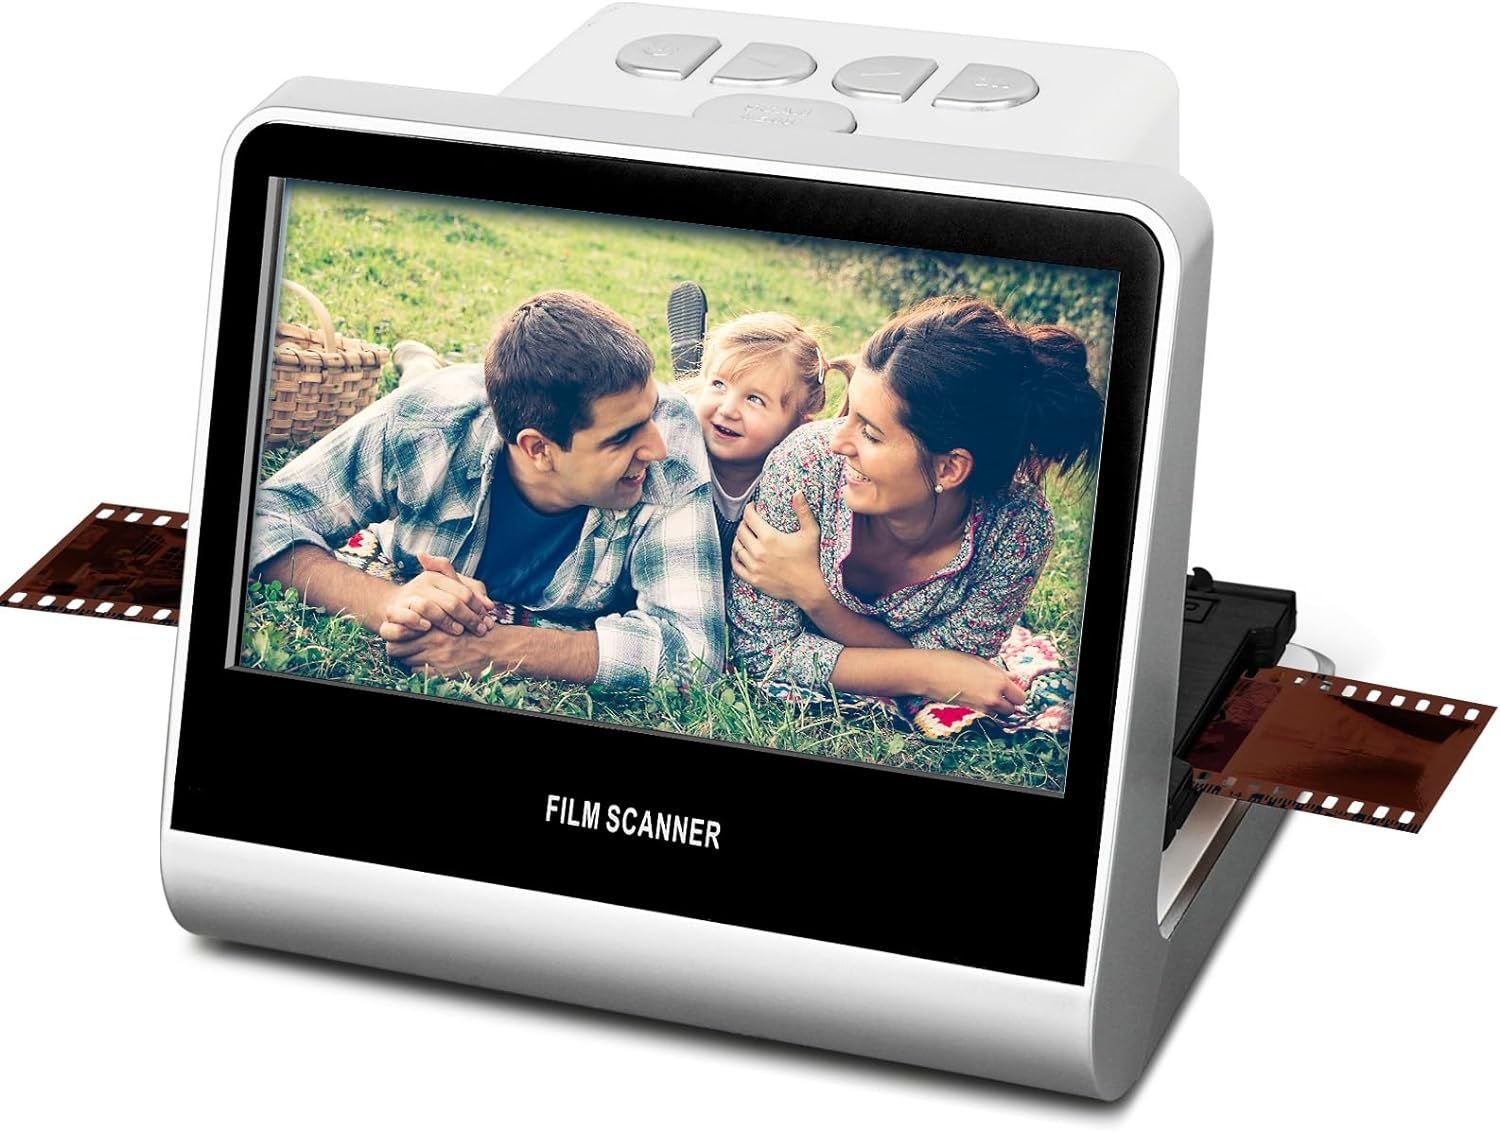
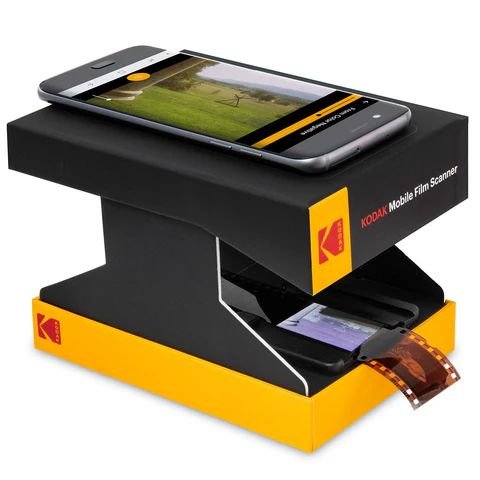
A film scanner for $100 to digitize your negatives.
A reliable printer that can handle photo paper.
Quality photo paper that fits your aesthetic preferences.
A photo editing software to tweak your images before printing.
Patience and a dash of creativity.
With these in hand, you’re ready to turn your digital darkroom dreams into reality.
Setting Up Your Home Photo Printing Studio
Choosing the Right Location
First, find a spot that’s free from dust and safe from prying hands or paws. This could be a corner of your office or a dedicated space in your basement. Good lighting is key, so if natural light isn’t an option, make sure you have plenty of lamps to illuminate your work area.
Creating a Darkroom on a Budget
Now, if you’re thinking about black-and-white film printing, you might consider setting up a darkroom. Don’t worry; you don’t need to break the bank. Here’s a simple setup:
Blackout curtains to prevent any light leaks.
A red safety light for $15 to see without affecting your photosensitive materials.
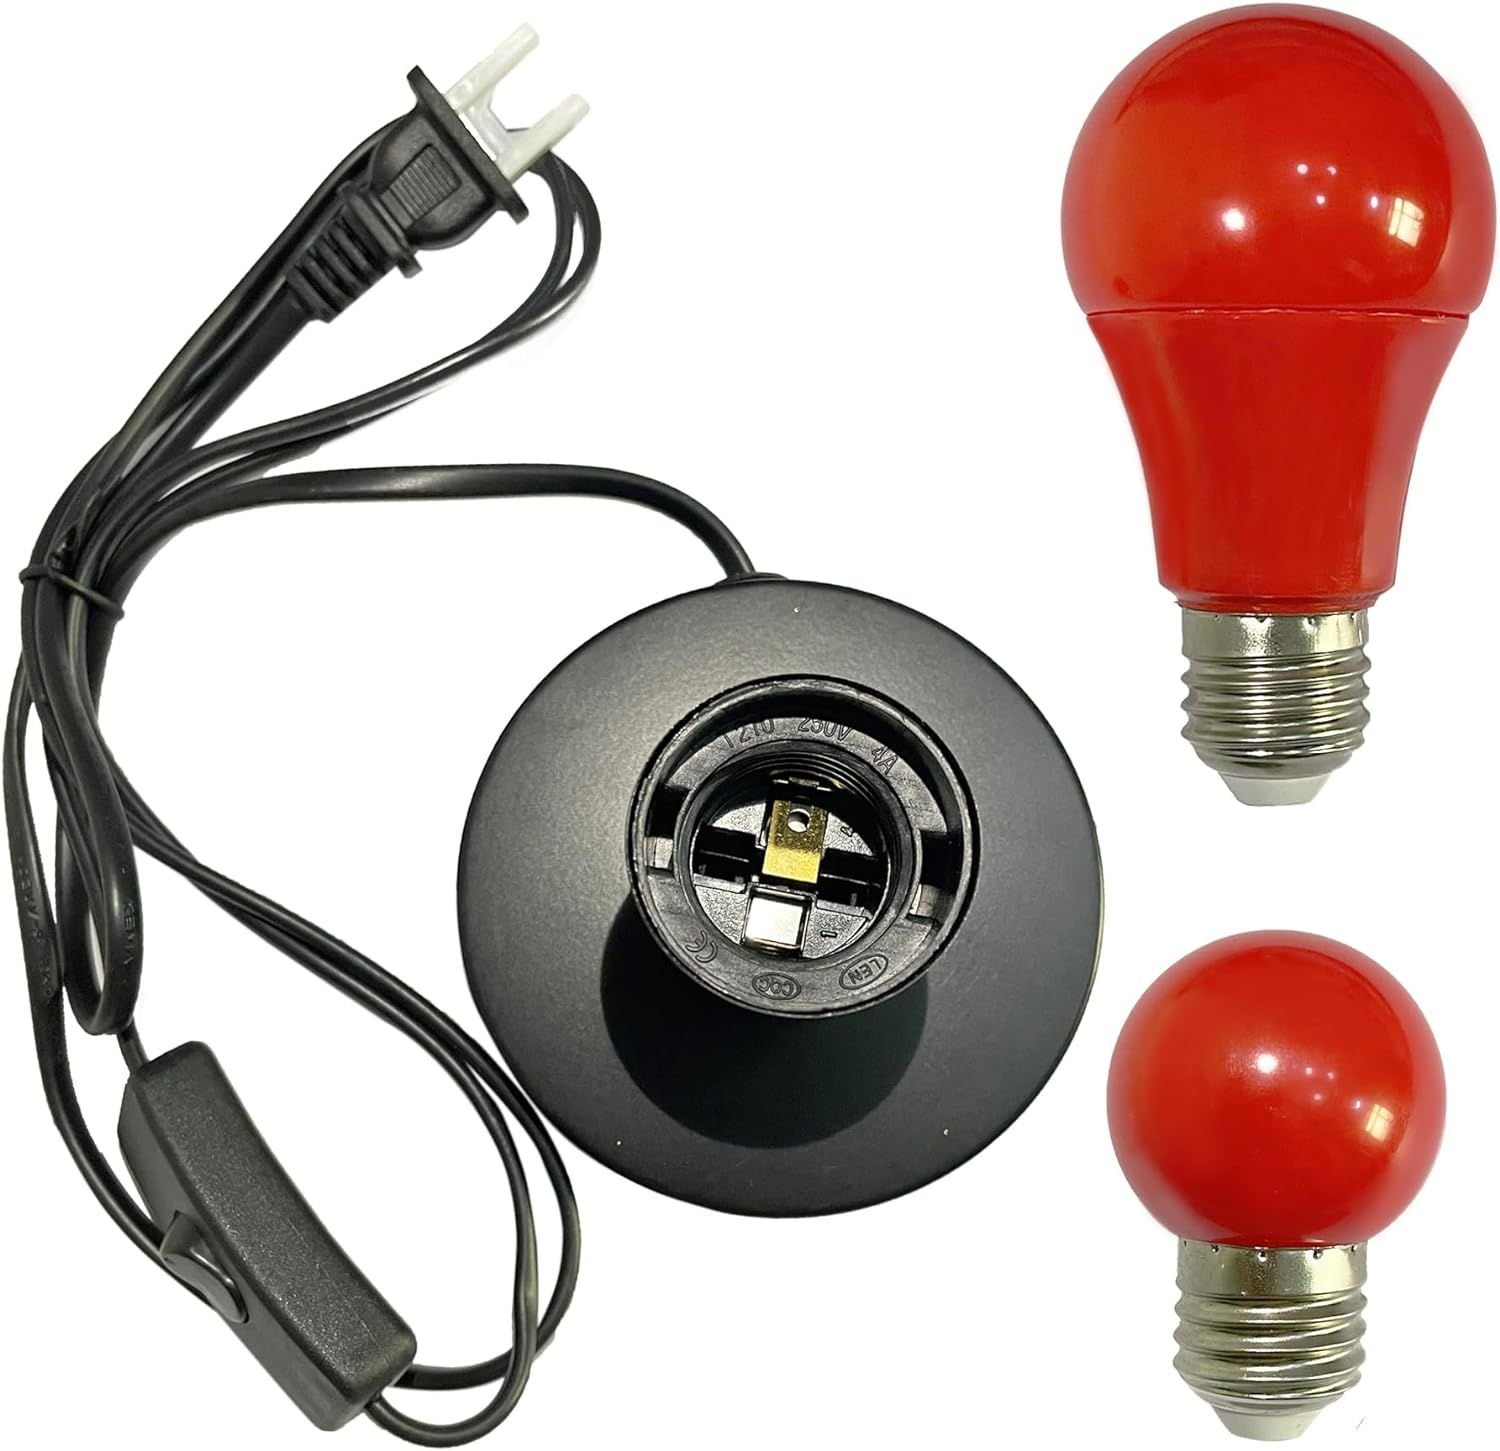
Developing trays, chemicals, and a timer for processing your prints. Get the whole kit for $90

Remember, safety first. Ensure good ventilation and wear gloves when handling chemicals.
Finding the Perfect Photography Paper
The paper you choose can make or break your photo. It’s the canvas for your work, so don’t skimp on quality. For those interested in film photography, understanding the bokeh effect can also enhance the final look of your prints.
There are glossy, matte, and luster finishes, each giving a different vibe. Glossy is shiny and vibrant, matte is subtle and textured, and luster strikes a balance between the two.
Here’s a tip: start with a smaller pack of paper to test which finish resonates with your style before investing in larger quantities.
And because we’re all about saving money, let’s compare costs: vintage photography tips and best picks.
|
Type of Paper |
Cost for Small Pack (20 sheets) |
Cost for Bulk Pack (100 sheets) |
|---|---|---|
|
Glossy |
$40-$60 | |
|
Matte |
$50-$70 | |
|
Luster |
Buying in bulk usually offers the best value, but only if you’re certain about the type of finish you want.
If you want to stay on a budget with the film scaner, try buying Kodak Mobile Film Scanner for $39
The Printing Process: Step-By-Step
Follow these steps, and you’ll be well on your way to producing stunning prints right from the comfort of your home. If you’re unsure about how to use a light meter during this process, consider reading our comprehensive light meter guide to ensure perfect exposure for your film photos.
Preparing Your Negatives
Before anything else, you need to prep your negatives. Make sure they’re clean and free from dust – any speck can show up on your final print. Use a soft brush or a can of compressed air to gently clean the surface. If you’re scanning your negatives, set your scanner to the highest resolution to capture all the details.
Mastering Exposure Times and Techniques
Exposure is crucial. Too little, and your print will be faint. Too much, and it’ll be overexposed. Start with a test strip: print a small section of your image at different exposures to find the sweet spot. This might take a few tries, but patience is key. Once you’ve nailed the exposure, you can print the full image with confidence.
Developing Your Prints
For those diving into traditional darkroom printing, the development stage is where the magic happens. After exposing your photo paper to the negative, you’ll move it through a series of chemical baths – developer, stop bath, and fixer. Watch as your image slowly appears on the paper, then rinse it thoroughly to remove any residual chemicals. It’s a beautiful process that’s as rewarding as it is intricate.

Maintaining Quality While Saving Money
Use refillable ink cartridges to cut down on the cost of new ones.
Print in batches to reduce ink and paper waste.
Keep your printer well-maintained to avoid unnecessary repairs or replacements.
By following these tips, you can keep your costs low without compromising on the quality of your prints.
Reusing and Recycling Printing Materials
Being cost-conscious also means being eco-conscious. Reuse photo paper for test prints before committing to the final print. If you have prints that didn’t turn out quite right, use the back as scratch paper for notes or calculations. And when it’s time to dispose of your materials, look into recycling programs that accept photo paper and ink cartridges.
Bulk Buying: When It Makes Sense
Bulk buying can be a great way to save, but only if you’re going to use what you buy. If you’re experimenting with different types of paper, start small. But once you’ve found your favorite, buying in larger quantities can significantly reduce the cost per print.
Free Printing Apps and Services
One of the best-kept secrets for DIY photo printing are apps like Free Prints. They offer a set number of free prints each month, where you only cover the shipping. This can be a game-changer for photographers looking to print on a budget.
How to Use Free Prints Apps
It’s pretty straightforward. Download the app, upload your photos, and order your prints. The app even syncs with your cloud storage, making it a breeze to select your best shots. And with delivery fees that are often less than the cost of a coffee, it’s an unbeatable deal.
Let’s break down the process:
Download a free prints app on your smartphone.
Select the photos you want to print from your gallery or cloud storage.
Order your prints within the app’s monthly limit.
Pay the delivery fee, which is typically a few dollars.
Receive your prints in the mail and enjoy!
The Catch? Understanding Limitations and Charges
While free prints sound too good to be true, they’re the real deal. However, be aware of the limitations. Most apps limit the number of free prints per month and charge for additional copies. They also set an annual cap on free prints. Delivery fees are usually low, but they can add up if you order frequently. For those interested in traditional photography, understanding the Sunny 16 rule in film photography can be a valuable skill to ensure that your prints turn out perfectly exposed.
“I ordered 45 free prints and added four more for $0.10 each. My total order cost was only $2.90 for delivery, which is less than I’d pay for a single professional print.”
This kind of deal is perfect for regular printing needs without the hefty price tag.
Check Armando Street Photography video
Expanding your DIY skills into advanced techniques can elevate your home prints to professional levels. Experiment with different inks, papers, and even alternative processes like cyanotype or Van Dyke brown. These historical methods can give your prints a unique, timeless quality that stands out from the crowd.
Custom finishes are another way to add a personal touch to your prints. For instance, a hand-applied varnish can protect your prints and give them a luxurious sheen. Don’t be afraid to try new things; sometimes the most cost-effective solutions come from thinking outside the box.


Leave a Reply